 This is a really clever idea! See how to turn a damaged plate into a canvas to create a bit of decupaged art over at the blog Creative Mind! I actually think it would be cool to leave some of the undamaged part exposed if it was a cool print and incorporate with the paper images that were decupaged on. Hmmmmm I feel a new personal project comin’ on!
Comments
Have you read?
You Won’t Believe These 20 Upcycled Bar Tables and Carts – From Trash to Tipsy
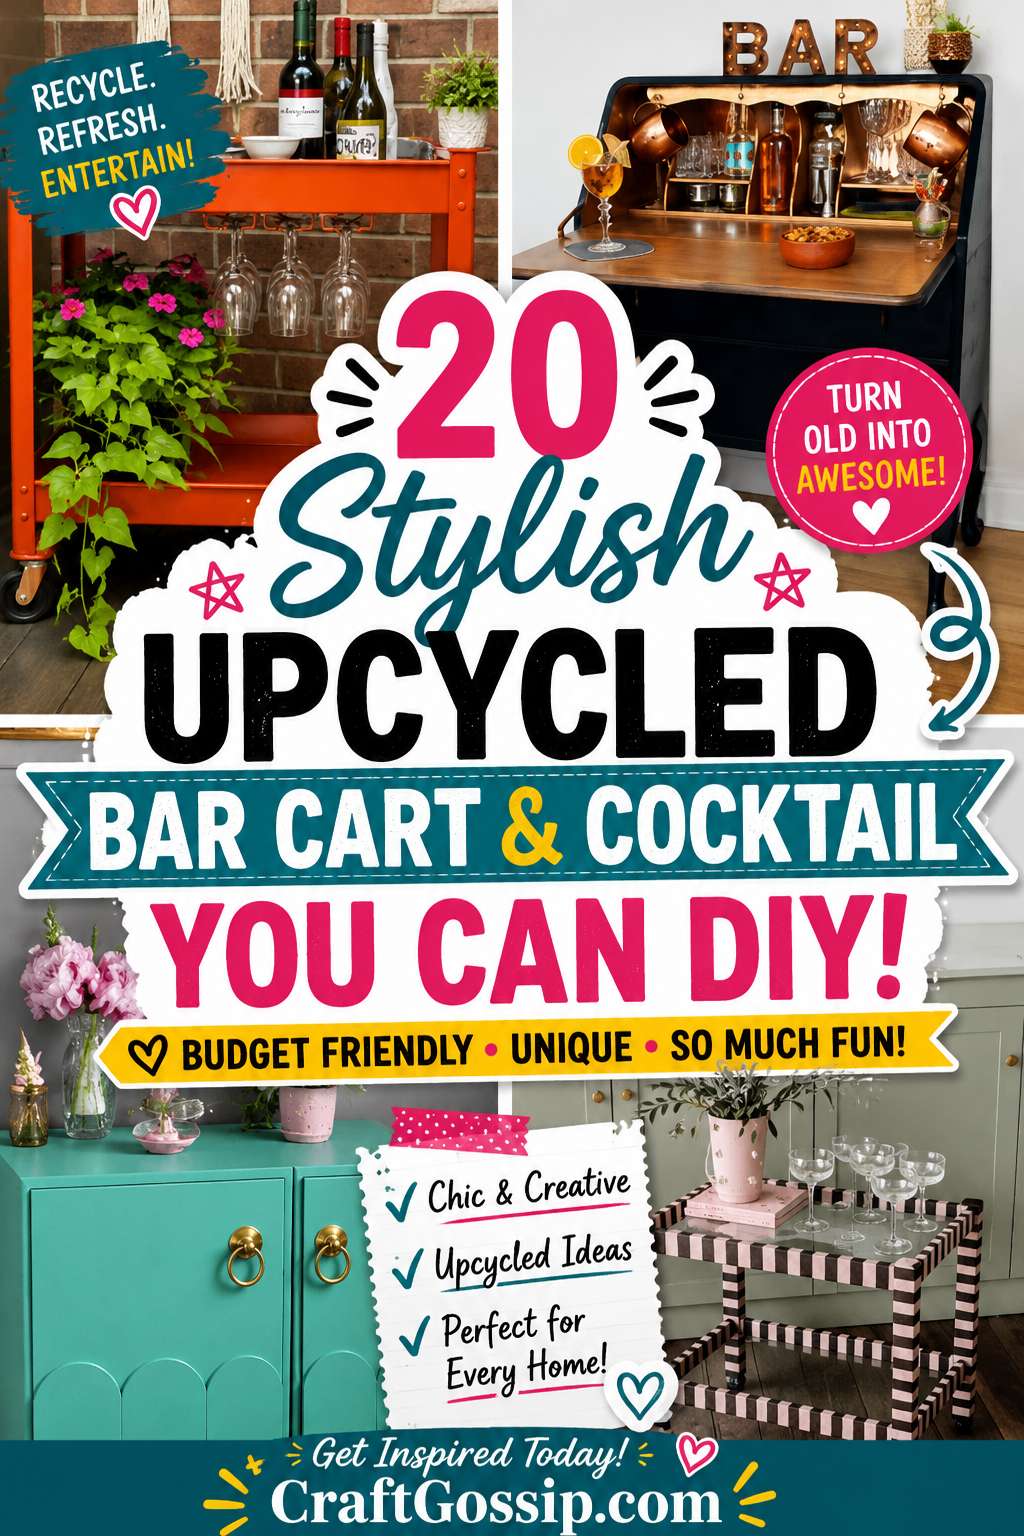
If you love cocktails and a good DIY project, you’re in for a treat. Bar carts and cocktail tables are making a big comeback—but not just any kind. We’re talking about upcycled cocktail bar tables and carts that are as eco-friendly as they are stylish.
Whether you’re a weekend crafter or a seasoned furniture flipper, this roundup of 20 genius upcycled bar table ideas will have you seeing old junk in a whole new light. From salvaged suitcases turned into swanky drink stations to vintage sewing machines reborn as mini bars, these DIY ideas blend sustainability with serious charm.
Why Upcycle Your Bar Cart?
Besides the obvious environmental perks (less landfill waste, yay!), upcycled furniture is packed with personality. No two pieces are exactly alike. You’re not just making furniture—you’re making a statement. Think industrial-chic, rustic farmhouse, boho glam, or retro fabulous. These bar tables and carts are the perfect way to show off your creativity while keeping your home totally Instagram-worthy.
IKEA Ivar DIY Green Drinks Cabinet Hack — MELANIE LISSACK INTERIORS
DIY Bar Cabinet | IKEA Ivar Hack
I turned a $100 Cabinet into a STUNNING Bar Display!
Vintage Sewing Machine to Bar Cart
Old Sewing Table Idea: Turn it into a Beverage Station |
DIY Bar Cart with Upcycled Sewing Machine Drawers, Hardwood Flooring, and a Shutter – Scavenger Chic
upcycled bar cart – My French Twist
How to make an upcycled bar cart for summer garden parties | My Thrifty Life by Cassie Fairy
Upcycled vintage drinks cart | Bunnings Workshop community
Weekend Project: Upcycling a 1960’s Bar Cart | always a blue sky girl
Upcycled Vintage Radio to Multi-purpose Bar Cart
DIY Bar Cart Makeover – Organized-ish
Remodelaholic | Build a Wood Bar Cart DIY
Life: Designed: DIY Pipe Bar Cart
BEFORE & AFTER: Vintage Bar Cart Makeover From the Thrift Store!
Perfect for Any Space
Whether you’re tight on room in a small apartment or creating an outdoor entertaining area on your patio, there’s an upcycled bar solution for you. And the best part? You can customize everything—from the color to the shelving—to fit your taste and storage needs.
So grab a screwdriver, maybe a cocktail (for inspiration, of course), and dive into this list of 20 brilliant upcycled cocktail bar tables and carts. You’ll save money, create something unique, and get serious bragging rights at your next happy hour.
Don’t forget to pin your favorites and share your own upcycled bar creations in the comments—we’d love to see how you keep it crafty and classy!
Ready to DIY your way to the ultimate home bar setup? Let’s go!
These recycled crafts are great! I love using recycled material to create art. Thank you for sharing. My little sister uses a site called Craftclub.com to make recycled crafts for kids. If you are a mom, grandparent, or babysitter, I would definitely recommend checking out the site.
It’s like this one, but more for children as this one is more for adults.