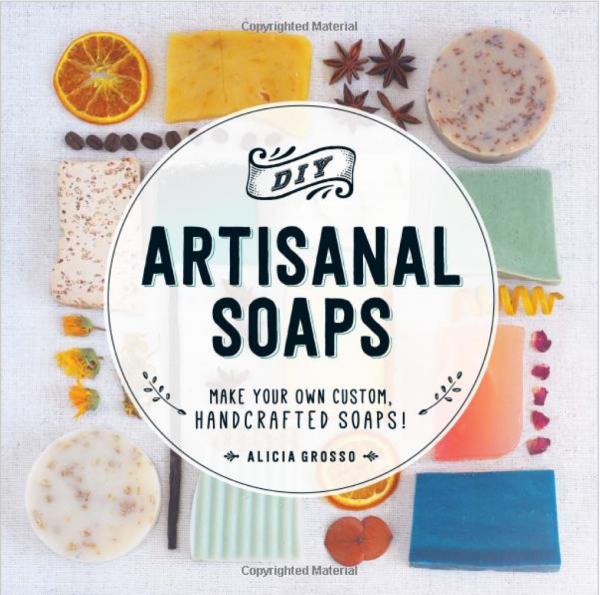
Giveaway- DIY Artisanal Soaps: Make Your Own Custom, Handcrafted Soaps!
Leave a comment in today’s post by June 15, 2016 and you are in the running for this fun and detailed soap making book.
Open to U. S. residents only please.
More about the book from the publisher:
Handmade soap from scratch!
Lavender Geranium Ribbon
Seaweed Salt Scrub
Ocean Fresh Cream Soap
Making your own luxurious and lovely soaps is easier than you think! With DIY Artisanal Soaps, you’ll find everything you need to make all-natural, custom-designed soaps using locally sourced ingredients and beautifully scented essential oils. Featuring easy-to-follow instructions and tips for personalizing your designs, this book guides you through every step of soapmaking, allowing you to create unique bath and home products every time. Learn how to turn your garden or farmers’ market finds into beautiful, handcrafted soaps, with invigorating scents like peppermint and rosemary or the summer-inspired pairings of ginger and papaya. You can even customize the fragrances and textures in the recipes to create the perfect product for your skincare needs.
Complete with stunning photographs and unique ideas for gifting, packaging, and selling your creations, DIY Artisanal Soaps helps you bring the vibrant colors and scents of nature into your home.
I’ve been wanting to give soap making a try and would love to have this book to get a good read on how to do it.
I have been wanting to make my own soap for a while now. I would love this book.
This book sounds just what I need. I have very sensitive skin and lot of soaps makes me itch.
great idea for gift giving. Joan
Would love to learn how to make soaps!
This would be so much fun! I’m just getting into making soaps with a kit and would love this to expand my knowledge.
What a great book, I have been wanting to make soaps for ages.
I would so love to win this book I just started sellin DoTerra oils and it would be wonderful to try them out in soap
This would be a great book. I always wanted to learn to make my own soap. Sounds like a fun project for my son and I.
Amazing! I’d love to know more.
I love this idea-looks like a great book! Thanks
Looks like an awesome book!!! I am just getting into soap making and could really use this.
I have been wanting to try soap making for quite awhile now, so this would be great!
Sounds like a fun thing to make and useful too! Great for gifts! Love to win it!
Making soap is something I would like to do. This book looks like it would be a great help.
I would love to win this book. i want to know more about soap making & this looks like it has good information.
Have never attempted making soap…thinking it might be a good idea for holiday gifts
This book would be great to improve my soap making skills. Thanks!
I would love to win this book.
Would love to make my own soaps for gifts all year round! How much fun would that be?
soap is great
Soapmaking would be so fun to try!!
I started making soap 1 year after taking a life class. It is very addictive and possibilities are endless! Would love to win this book. Thanks
Wow, this book looks perfect for me! I have always wanted to try soap making!
Sounds like a great book!
I’ve been making homemade soap for years, would love to win your book….
Sounds great, I so want to try soap making.
These would make great Christmas presents. What a beautiful book, too. Thanks for hosting the giveaway!
I’d love to learn how to make my own soap, since I can’t find any in my favorite scent!
I would love to try making my own handcrafted soaps!
Thanks, Kim R.
Thank you for hosting! Would love to use the book.
We’ve played with simple soaps but I really want to experiment some more creating beautiful and fragrant soaps
This is wonderful..I would to get started in soap making and this would be a perfect start
Have never tried this! It looks like fun!
I would love to make homemade soaps for gifts.
I’ve always wanted to try my hand at making soap. And I love books!