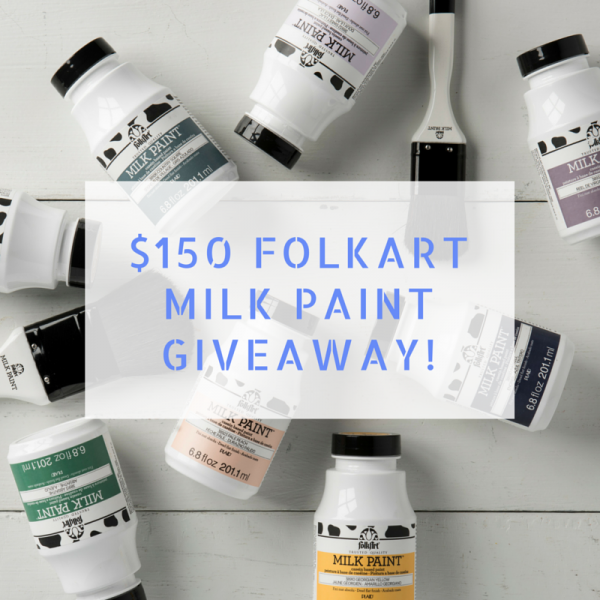
Giveaway- $150 of Folkart Milk Paint
Leave a comment in today’s post by July 28, 2016 and you are in the running for this amazing collection of paint!
Open to U. S. residents only please.
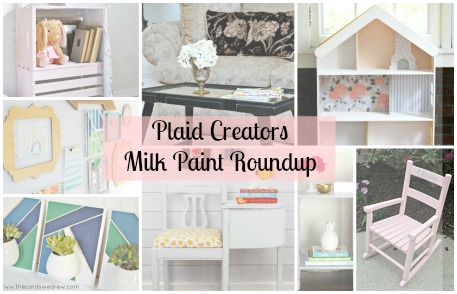
Looking for some inspiration on all sorts of great things you can upcycle with Folkart Milk Paint? Pop on over to the Plaid Pallet blog for some great ideas on what to paint with Milk Paint.
I had some fun painting a giant light up firefly jar with Plaid’s Chalk paint and Folkart Multi-surface paint that you can see the tutorial for over at Cheap Eats and Thrifty Crafts. They make great paint!
LOVE this firefly lightup jar! I have never tried milkpaint but would love to! Hubby says I am addicted to paints and I think he is right! I love being able to change the color of something to give it new life!! This would help me do so without the nagging from hubby! Thanks for the chance to try these paints without a grumpy hubby!
Folk Art Milk Paint looks like it would be fun to paint with! ??
Oh the projects I could add to my list with these beautiful paints in my supplies. Thanks for the giveaway.
Oh, I could come up with lots of things to paint with this prize!!
Ohhhh so many ways to change things up for a new look in decorating without spending an arm & leg. Thanks for the chance to win !
so many awesome things to do. can’t wait to win!!!!!!!!!!!!!
I would love to learn more about milk paint. I also like all of the different types if crafts you have on your web site, thanks.
I would love to try Folk Art Milk Paint.
I’ve got an idea!!!
What a perfect chance to try milk paint!
I love milk paints!
I just picked up a FREE blanket chest at a yarn sale/giveaway–it could really do with a makeover and milk paint would be just perfect!
from sunny and bright VT,
the Vermonster
love to win and try milk paint
Wow. This looks like another great idea. I want to do some updating and Milk Paint looks like what I want.
These colors are beautiful and I would love to win.
These look like fun to try! Love the milkpaint look!
This would be really cool to win!
We’re moving in a couple of months and I already have a list of projects I want to do. This paint would be put to good use! Thank you for the giveaway!!
I have never used milk paint, but would love to try it out!
I have endless ideas!!
always wanted to try milk paint
Would love to win and try out milk paints – thanks for the opportunity
I have been using this great paint for many projects.
I love painting with milk paint, it covers up all my mistakes and makes everything look wonderful. The firefly jar would be magical in a child’s room.
I have never used milk paint…yet! My guest room has some used furniture–chest and head board–that I would use milk paint on to freshen them both up. I love the country look the paint gives to furniture pieces!
I’ve not had the chance to use milk paint. Thanks for the opportunity to win some.
I would love to get this collection.
Awesome Paint = Want to experiment, and play 🙂
This would be a perfect way to try these paints!! Thanks
Oh, I could have so much fun with these!
Ooooh something new and fun to try! Thank you for the chance to win! 🙂
I’ve never used milk paint before. I’d go to town trying it out. Thanks for the chance to win.
I love painting and tbis would be a perfect addition to my supplies. I can’t wait to try something new !!
Thanks!
I love this paint! Endless Posibilites!
i haven’t tried these yet but I have been interested in all the things you can do with them. Thanks for your post.
I have always wanted to try milk paint! I really like all the projects I’ve seen!
SGreat paint ideas – thanks.
Would love to win some paint!!!
This looks like a lot of fun – fire fly light!! awesome!
I would love to try these!!! Th
ank you for the chance!!!
Love milk paint and need it for kitchen sideboard and chairs. TYSM!
I would like to try these!
K would love to give this product a try
I have used Milk Paint in the past but have since heard that THIS brand was the best! Would you love to win this fabulous collection … thanks so much for the chance, CraftGossip!
I’d love to try these paints in my new home projects!
Thank you for this incredibly generous giveaway!
love the milk paint look
I have never worked with milk paint before but would love to try it. I would love to know how you made the firefly jar. Are there real fireflies in there?
this would be something brand new for me to try – would LOVE it! GREAT GIVEAWAY for a lucky someone!!!
What a generous giveaway!! Wow! So the cut-off for entries for this prize is my birthday, so I would REEEly love to win this paint – just sayin’. Thanks…everyone stay cool wherever you are. 🙂