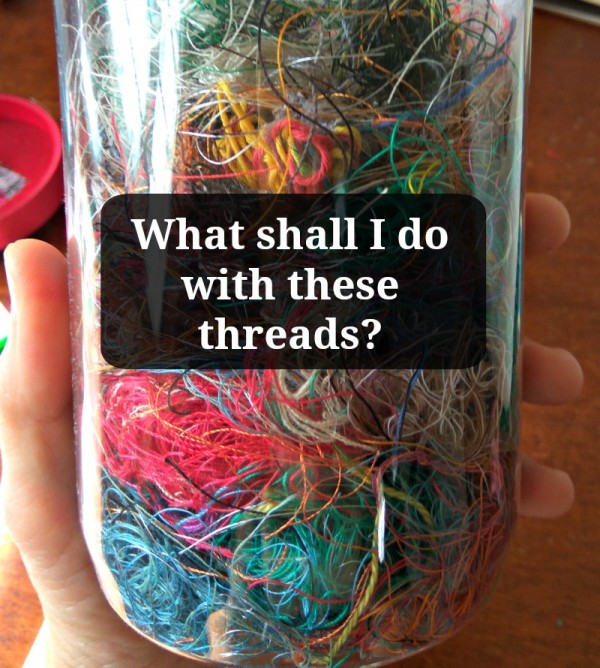
 I happen to be someone who simply looks at thread and enjoys it on display. This jar is pretty all by itself. But if you would like more ideas on what to do with your scrap thread stash pop on over to the link Agatha sent in to the post at the blog Agy Textile Artist for more recycled thread projects.
Comments
Have you read?
Handmade with a Past: Tuesday’s Top Recycled Etsy Find
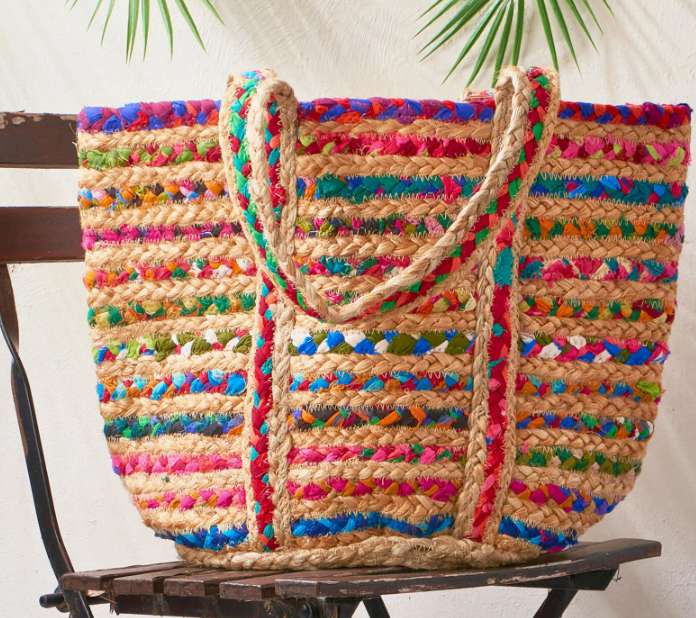
If you’re looking for a bag that’s as stylish as it is eco-friendly, look no further than this recycled cloth jute beach tote bag. Handcrafted from upcycled materials, this tote combines the rustic charm of jute with the sustainability of recycled cloth, making it the perfect accessory for your next beach trip, farmers’ market visit, or casual day out.
What I love about this bag is its combination of practicality and earth-conscious design. The sturdy jute fabric gives it a timeless look, while the use of recycled cloth keeps things fresh and eco-friendly. It’s large enough to hold all your essentials—whether you’re headed to the beach or carrying groceries—and it’s the kind of bag you can feel good about using.
Why this tote bag is a must-have:
Made from recycled cloth and jute, giving new life to old materials while keeping things stylish
Perfect for a beach day, carrying groceries, or just as your go-to everyday tote
Eco-conscious design that helps reduce waste while looking chic
This bag isn’t just a practical piece; it’s also a conversation starter. People will ask where you got it, and you can proudly say, “It’s handmade, recycled, and fabulous!” A must-have for anyone looking to add more sustainable options to their daily life.
I save mine for the whole year and in the spring put the pieces out for nesting birds.
To Cindy G. about saving her threads for the year and then putting them out for the birds …. EXCELLENT IDEA! My parents taught my sisters and I to find some way to give back in some way to nature, whether it be composting, or leaving some bread crusts, nuts or carrot slices, etc., out for birds and bunnies and squirrels, and THIS just falls right in along those lines! I am SO HAPPY you posted this idea! THANK YOU ! (and why didn’t I think of that? LOL)
You can use them as “art” in lots of different ways. For example, you can spread them out like a network of “veins” on top of a sheer fabric and cover them with another sheer fabric, put some wash-away stabilizer under all of the layers (to solve the flimsy problem, if you have it), and stitch away with invisible (or any other kind of) thread in the top of your sewing machine to create a new “fabric” that is immune to losing the random threads. That “fabric” could be employed as a pocket, yoke, cuff, applique, etc. for a garment. It could get incorporated into a quilting project. It could get framed for the wall. It could get inserted in the plastic cover sleeve of a 3-ring binder for your craft idea print-outs.
I read in one of Anne MaCaffery’s that a a native group use all kinds of recycled scraps of any fabric to make the covers for quilts. They used & reused all the feathers & down, cleaned shed fur from all the livestock & wild stock. Then quilted it with all sorts thread, yarn, fishing line, old fishing nets, old sweaters,.remnants left from making clothing, & other clothing that was being recycled. It’s what became the fancy patchwork & quilted tops of today. They even used rags in rugs when too worn out to clean
with. You could latchhook a rug using not just yarn, but thread, floss, ribbon, twine, string, shreds from rags, even leftover or recycled macrame, reclaim some old sweaters or blankets. Save the old saddle blankets. These become heirlooms to be handed