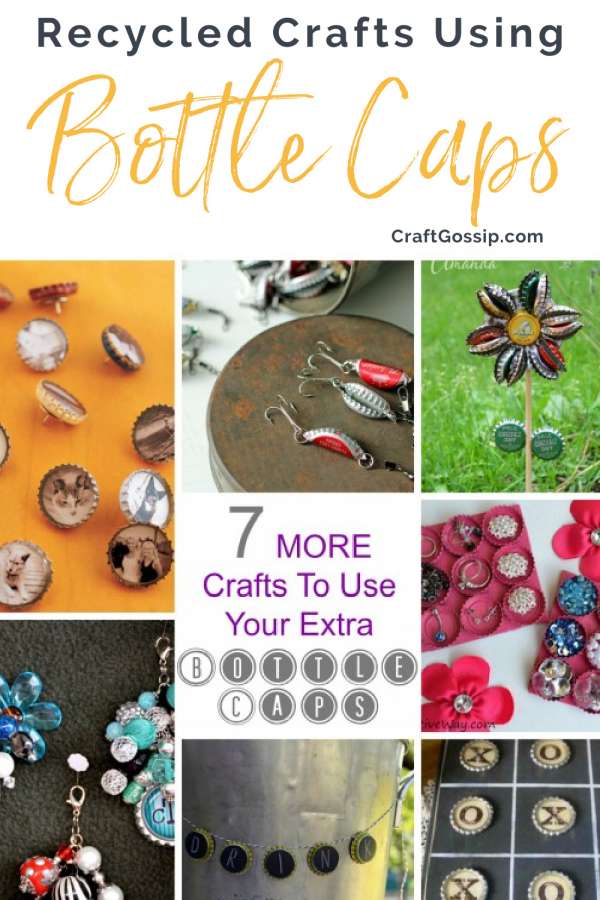
Those Summer parties are now coming to an end. If you have a supply of bottle caps and are looking for a great way to use them in your next craft, one of these 7 ideas maybe just for you. They are all fairly easy to make and would be a great project for your upcoming weekend.
Looking for jewelry-making supplies? Check out our favorite supplier BeeBeeCraft
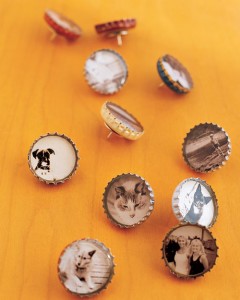
1- Bottle Cap Photo Thumbtacks from Martha Stewart
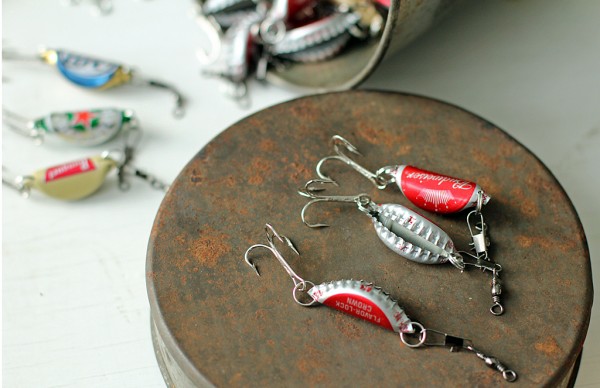
2- Bottle Cap Fishing Lures from 2 Little Hooligans
anda
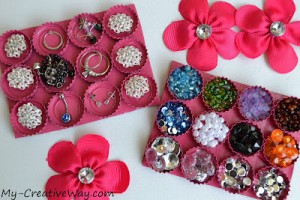
4- Bottle Cap Organizer from My Creative Way
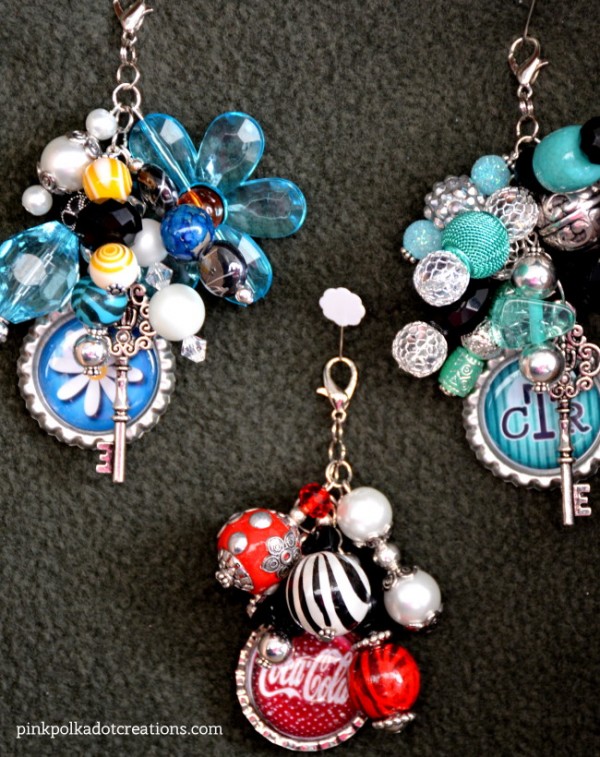
5- Beaded Bottle Cap Charms from Pink Polka Dot Creations
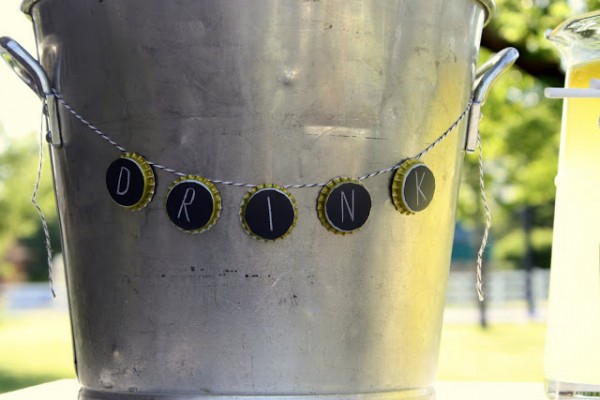
6- Bottle Cap Party Garland from SEI Lifestyle
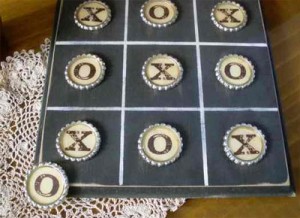
7- Tic Tac Toe Game from Bottle Cap Co.
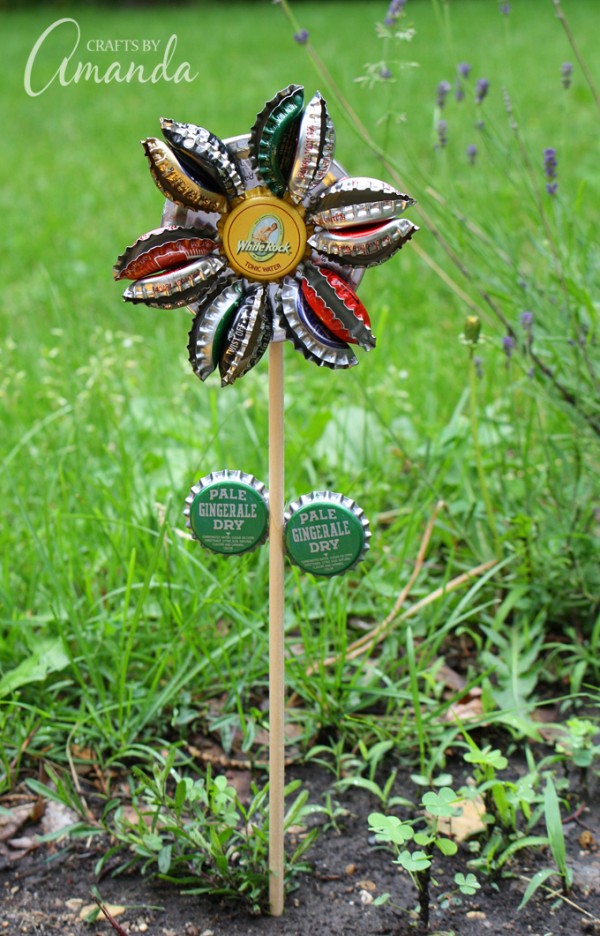
3- Bottle Cap Flower from Crafts By Am
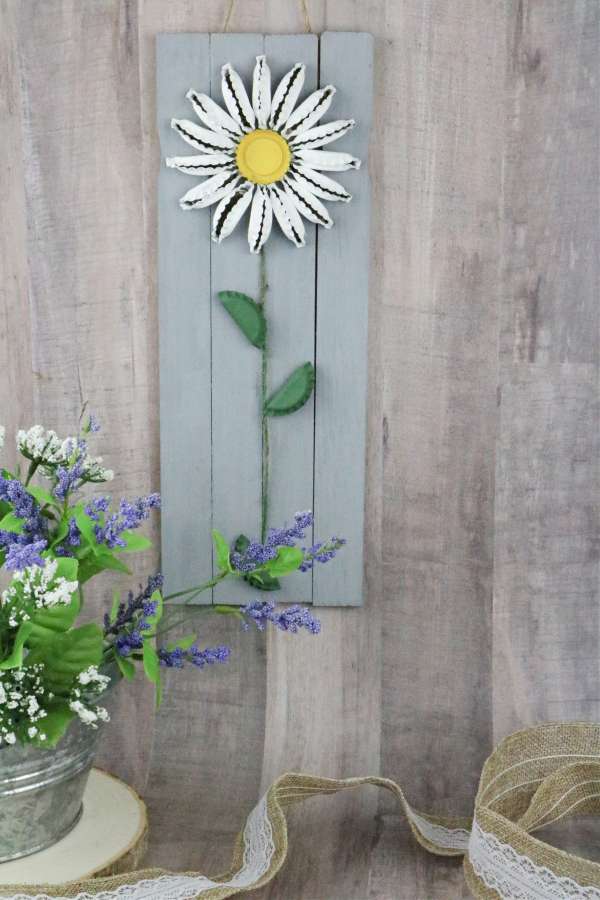
Bottle Cap Daisy Wall Decor Craft (upcycle project)
Time: about 30 minutes + paint drying time
Skill: Easy
Makes: 1 wall art
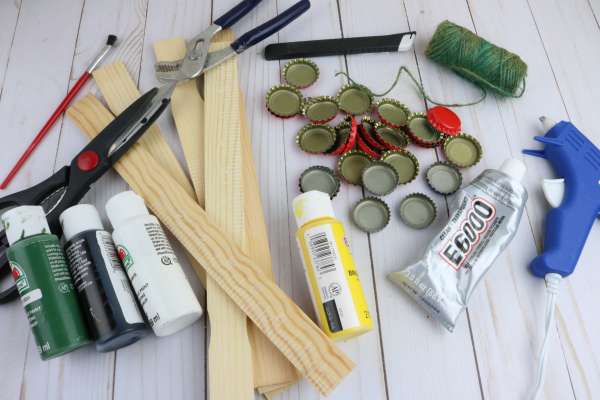
Supplies:
- 5 Paint Stir Sticks

- Utility Knife
- Scissors
- Natural Twine
- Green Twine
- 19 Bottle Caps
- Pliers
- Paint Brush
- Yellow Craft Paint
- White Craft Paint
- Black Craft Paint
- Hot Glue Gun & Glue Sticks
- E6000 Adhesive


Directions:
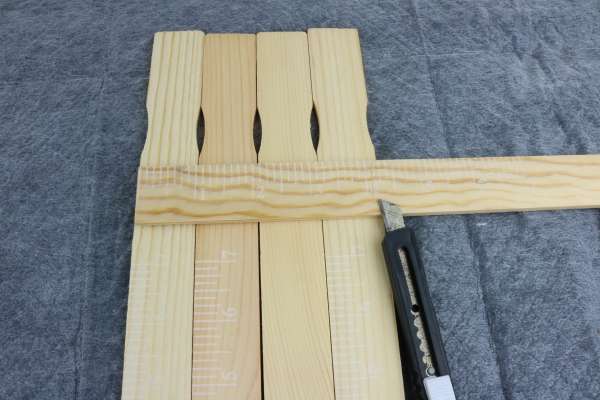
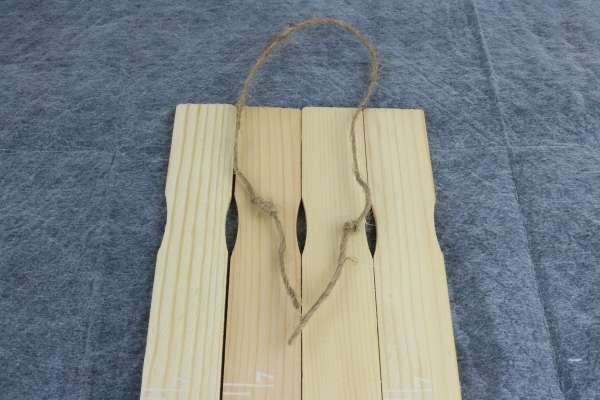
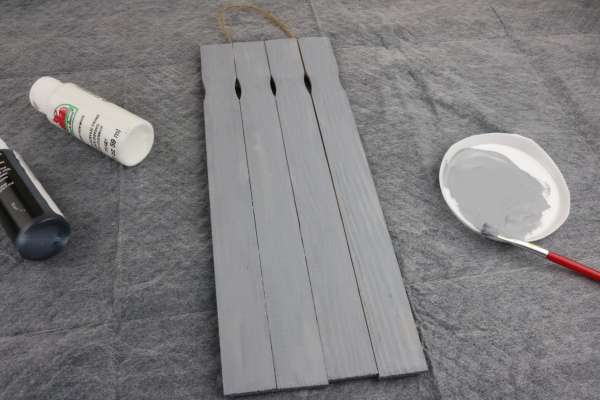
Step 1: Lay four paint sticks side by side with the curved ends at one end.
Step 2: Lay one paint stick across the four. Then mark it with the knife so that it is just slightly shorter than going all the way across the four sticks.
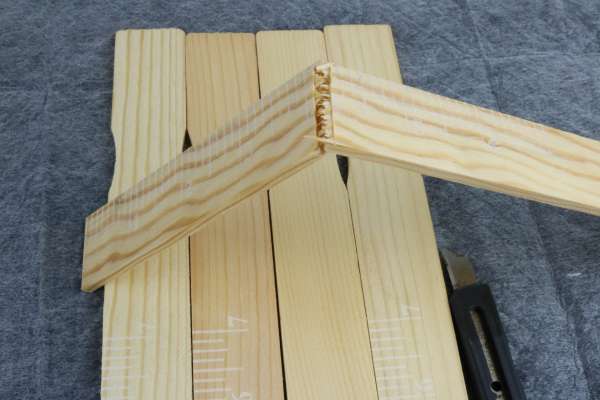
Step 3: Lay that marked stick with the mark at the edge of the table or work area. Then hold with one hand on one end and press down on the other to snap it at the mark. Make a second one just the same.
Step 4: Take a small piece of natural twine and tie a knot in each end. Lay it over the four sticks so that it loops off the end.
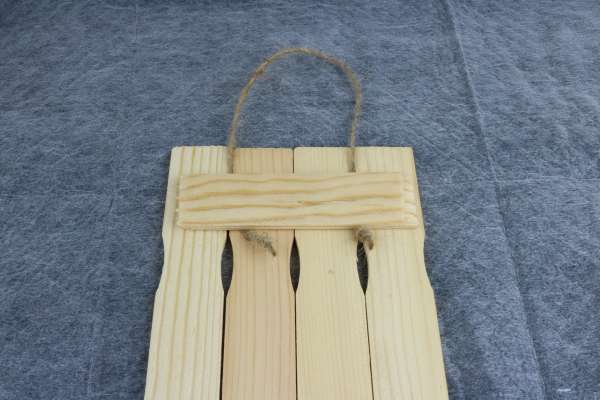
Step 5: Now we need to attach the cut pieces. The first one will be right over the twine so the knots are just under the stick. To glue it, add a small amount of E6000 in the center than some hot glue on the outer part. The hot glue holds it in place until the E6000 drys.
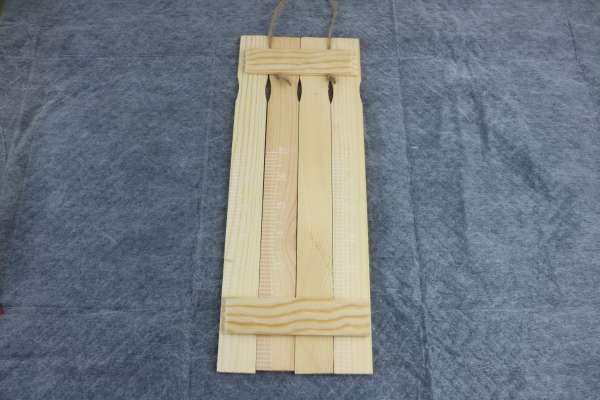
Step 6: Glue the other strip towards the bottom gluing it the same way.
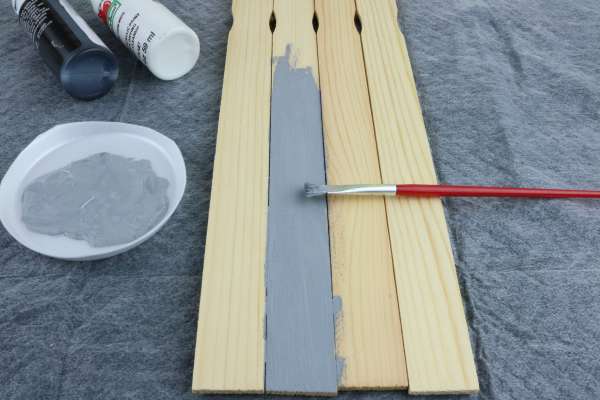
Step 7: Mix the black and white paint until you have a gray color you like. Then flip the sticks over so the glued pieces are on the back. Paint the four sticks gray making sure to get the side edges. Set aside and allow to fully dry.
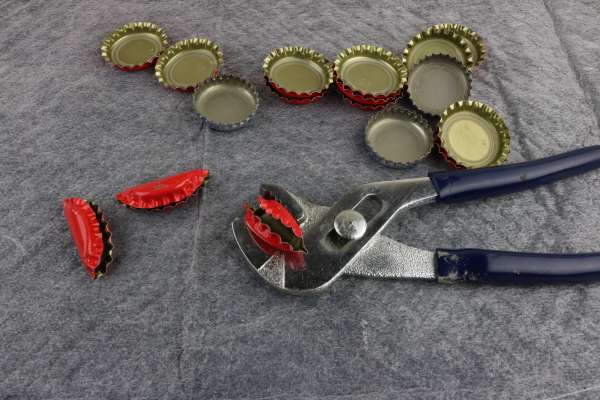
Step 8: Using the pliers fold all but one of the bottle caps in half.
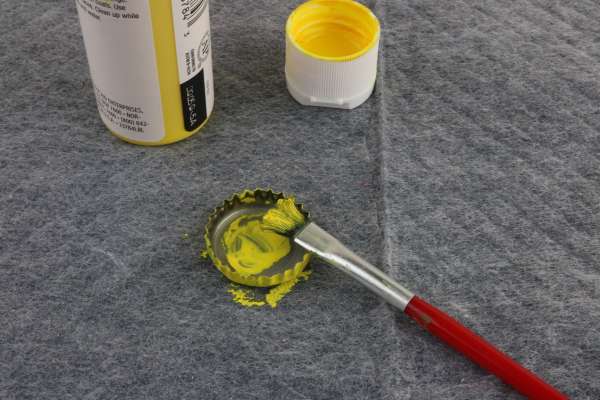
Step 9: Paint the one unfolded cap yellow. You will need to do a coat, allow it to dry, and then coat again. You only need to paint the edges and one side. The side that is normally over the bottle.
Step 10: Paint three of the folded ones green. Same as yellow you will need two coats of paint.

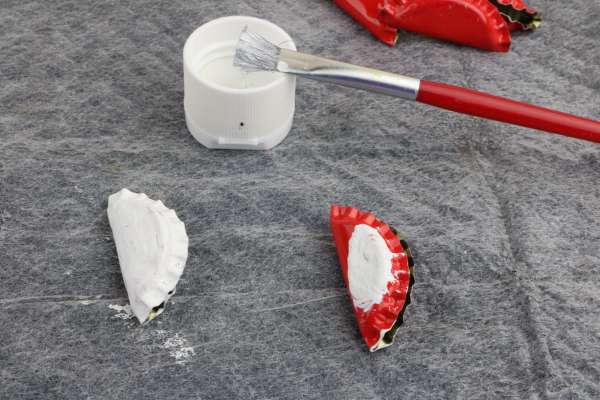
Step 11: Paint the rest white with two coats of paint.
Step 12: At the upper part of the gray sticks glue the yellow one in the center and about a bottle cap distance from the top. Use a small dab of E6000 in the bottom center with a small dab of hot glue on the side of that to hold in place.
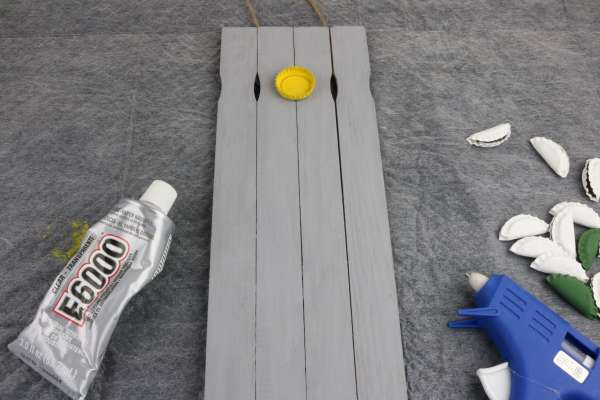
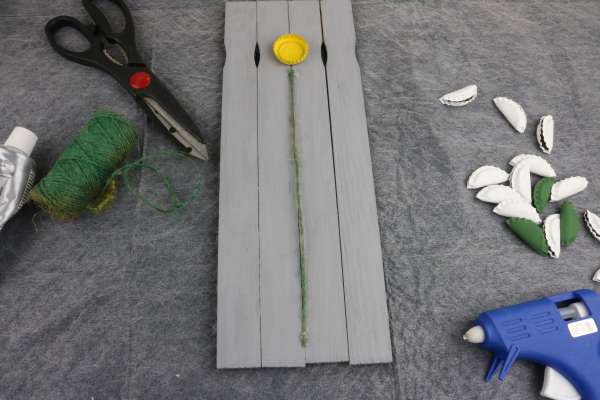
Step 13: Cut a piece of green twine that touches the yellow cap and all the way to the bottom of the sticks. Glue in place with hot glue.
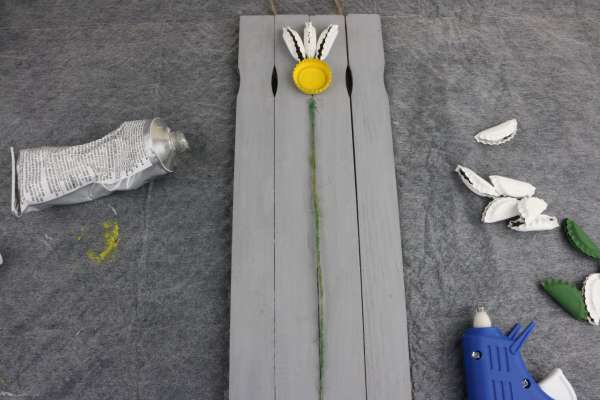
Step 14: Start gluing the white pieces around the yellow one. You want to see the crack facing up. Glue the same way you did with the yellow.
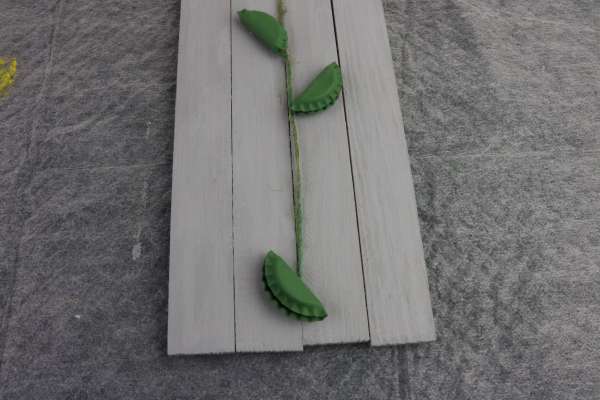
Step 15: After you have all the white pieces glued, glue the green ones. You want to glue one at the bottom of the green twine to hide the glue. These you will glue flat on their sides. Then the other two somewhere in the middle of the twine.
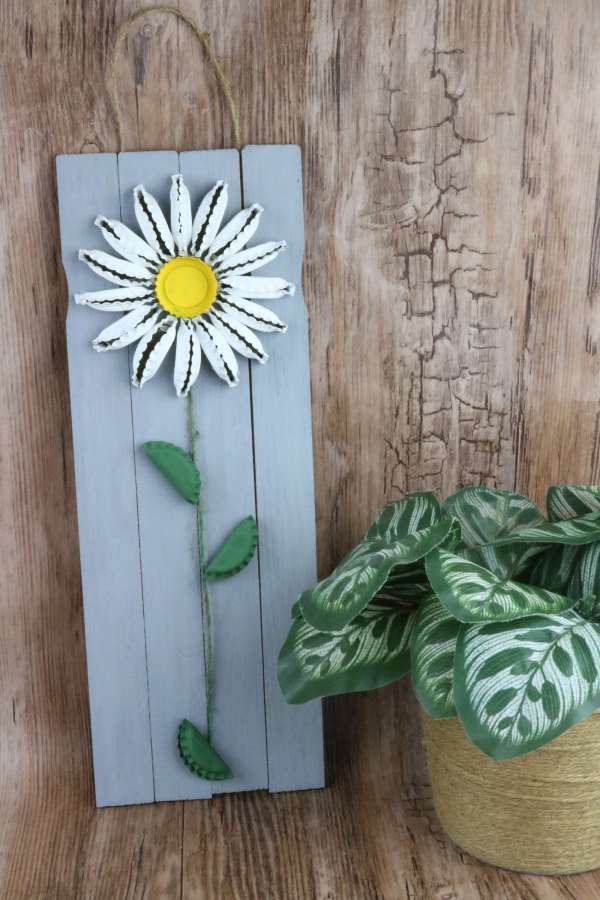


Thank you for including me!
hi amanda…im maggie im not good in english but i want to know what is the RESIN…theres lot of bottle cap here in the phils…they put something liqiud over the bottle cap…i just what to know how to make that liquid if its ok…to make the pictures clean and secure….can u tell me step by step how to do the resin….thanks and pls add more idea