 Congrats go out to Jersey Girl Designz of Jackson NJ. She is the winner of the new book Art Without Waste 500 Upcycled & Earth-Friendly Designs by Patty Wongpakdee!
Have you read?
15 Christmas Crafts From Recycled Items
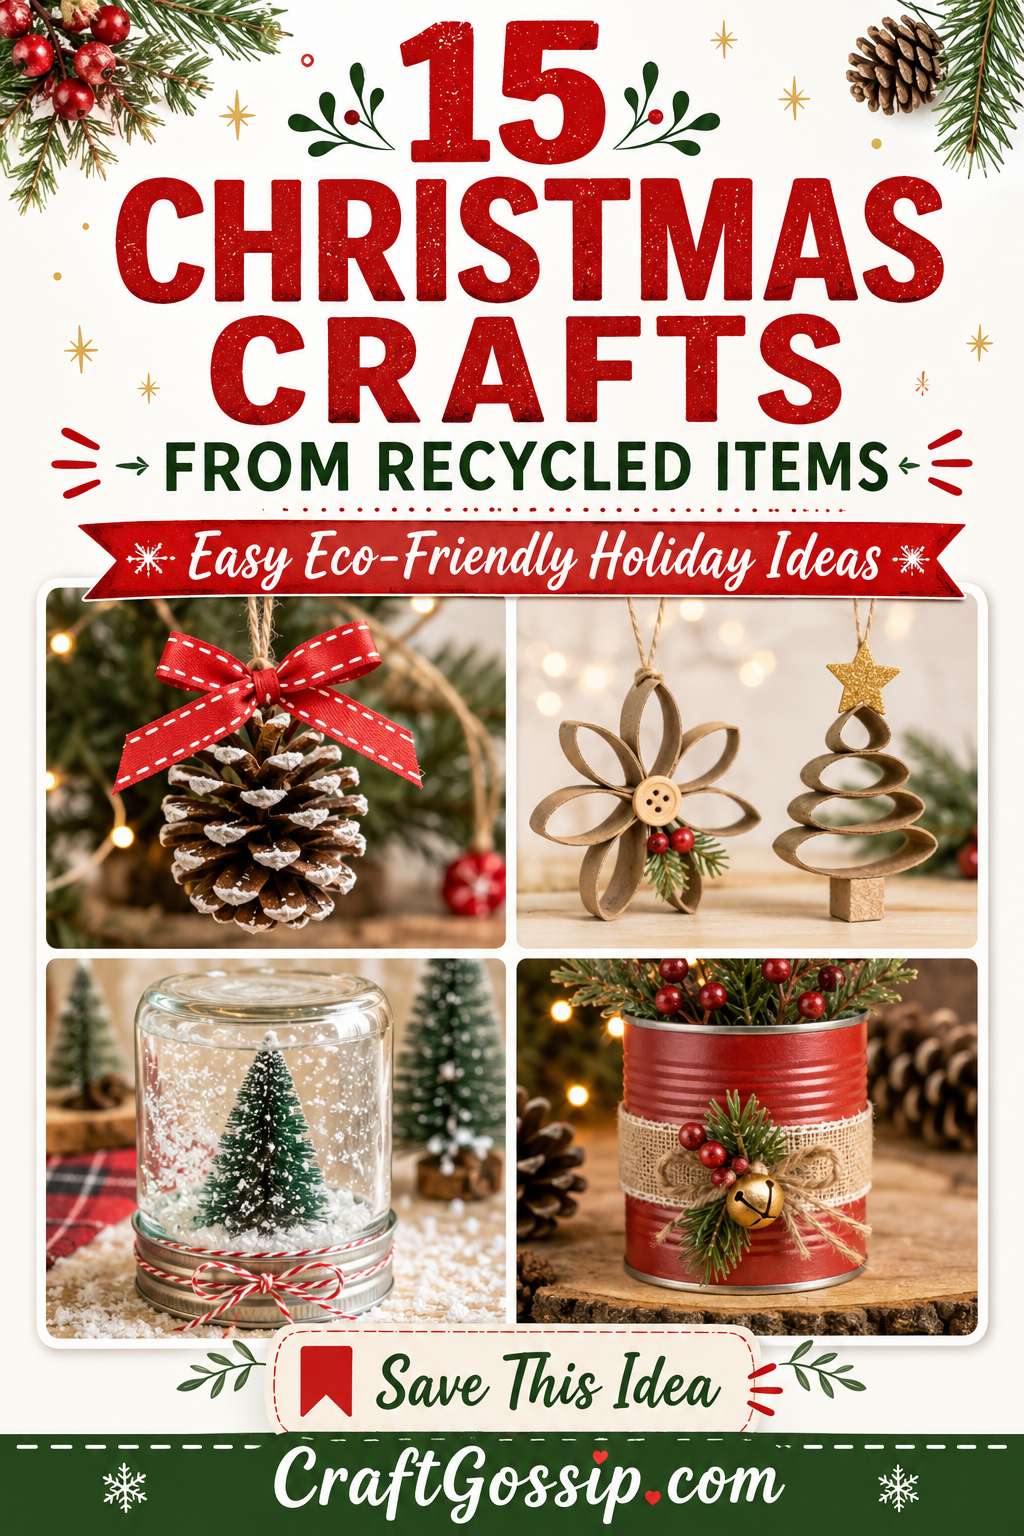
Christmas crafting does not have to mean buying a whole trolley full of new supplies. Some of the prettiest handmade decorations can start with things you already have at home — cardboard tubes, old Christmas cards, glass jars, tin cans, wine corks, plastic bottles, pinecones, fabric scraps and packaging that was probably heading for the recycling bin.
Recycled Christmas crafts are perfect if you love a handmade holiday look but still want to keep things budget-friendly. They are also a lovely way to slow down during the busiest season of the year. There is something very satisfying about turning a cereal box, jar lid or old card into something that can hang on the tree or sit proudly on the mantel.
Before you start, gather a small box of useful bits and pieces: clean jars, cardboard tubes, bottle caps, buttons, ribbon scraps, old cards, brown paper, tin cans and small packaging pieces. You do not need everything to match. A coat of white paint, a little twine, metallic marker or a simple colour palette can make mixed recycled supplies feel beautifully intentional.
If you love sustainable holiday crafting, you may also enjoy these Recycled Crafts posts on 9 handmade ornaments made from recycled items, eco-friendly Christmas ornaments from toilet paper tubes, and Christmas projects inspired by nature.
Here are 15 Christmas crafts from recycled items to inspire a more creative, less wasteful holiday season.
Pinecone Christmas Tree Ornaments
Pinecones are one of the easiest natural materials to turn into Christmas decorations. This frosted pinecone Christmas tree ornament tutorial shows how to turn foraged pinecones into pretty hanging ornaments with a soft snowy finish and ribbon hanger.
These are lovely for rustic Christmas trees, farmhouse decorating, nature tables, handmade gift toppers or woodland-themed holiday décor. You can keep them natural, dry-brush them with white paint, add glitter, or tie them with velvet ribbon for a more polished look.
If you are making a whole nature-themed Christmas collection, pair them with Recycled Crafts’ eco-friendly Christmas projects inspired by nature.
Cardboard Tube Coiled Christmas Tree
Cardboard tubes are one of the best recycled Christmas craft supplies because they are free, easy to cut and surprisingly versatile. This cardboard tube coiled Christmas tree tutorial turns an ordinary cardboard tube into a sweet Christmas tree ornament.
This is a good project for using toilet paper rolls, paper towel rolls or wrapping paper tubes. Paint them green for a classic Christmas tree look, or use white, gold, silver or kraft brown for a more modern handmade style.
For another cardboard tube holiday idea, visit Recycled Crafts’ eco-friendly Christmas ornaments from toilet paper tubes.
Recycled Cardboard Tube Christmas Ornaments
These eco-friendly Christmas ornaments from toilet paper tubes are a classic recycled Christmas craft because they use something almost every household has.
Cardboard tubes can be flattened, cut into strips, shaped into petals, stars, snowflakes, wreaths and little ornaments. Once painted and arranged, they look far prettier than you would expect from such a humble material.
This is also a great group craft because you can cut the pieces in advance, then let everyone paint, glue and decorate their own ornament.
Recycled Christmas Card Ornaments
Old Christmas cards are too pretty to throw away, especially when they can become ornaments. This recycled Christmas card ornament tutorial shows how to turn old cards into a decorative paper ornament.
This is a wonderful way to reuse cards from past Christmases, especially ones with beautiful illustrations, metallic details or sentimental messages. You can also use old gift tags, packaging, calendars or card fronts.
If you save Christmas cards every year but never quite know what to do with them, this is a lovely tradition to start.
Christmas Card Bauble Ornaments
For another card-based idea, these ornaments made from holiday cards use circles cut from old cards and glued together into pretty paper baubles.
This project is especially good if you have several cards in coordinating colours. Red, green and gold cards will feel traditional, while blue, silver and white cards can create a wintery look.
These would also make beautiful handmade gift toppers. Tie one onto a plain kraft paper parcel and the wrapping instantly feels special.
Tin Can Christmas Décor
Tin cans are sturdy, easy to decorate and perfect for recycled Christmas crafting. This tutorial for recycling tin cans into high-end Christmas décor includes several ways to turn old cans into festive home decorations.
Tin cans can become candle holders, mini planters, utensil holders for a Christmas table, gift containers, advent pots, lanterns or shelf decorations. Paint them white, red, green or metallic, then add ribbon, twine, stencils, greenery or small ornaments.
For more tin can inspiration, you can also browse Recycled Crafts’ older post with a collection of cool recycled tin can patterns.
Mason Jar Snow Globes
Glass jars are wonderful for Christmas crafting because they already feel giftable. This DIY snow globe tutorial shows how to make simple snow globes using jars, glitter, glue and water.
You can use clean jam jars, mason jars, baby food jars or small condiment jars. Add a tiny tree, miniature deer, bottle brush tree, figurine or handmade clay piece inside the lid, then fill the jar for a magical snow globe effect.
These make lovely handmade gifts, table decorations or Christmas craft projects for older kids with adult help.
Mason Jar Lid Snow Globe
If you have more jar lids than jars, this mason jar lid snow globe tutorial is a clever way to use the lids as the base for miniature snowy scenes.
This idea is sweet for ornaments, place settings, gift toppers or tiny Christmas displays. It is also a nice way to use miniature decorations, faux snow, twine and odd jar lids from your stash.
Jar lids are one of those small recycled items that are easy to overlook, but they can be perfect for tiny framed scenes and ornaments.
Wine Cork Santa Ornaments
Wine corks are small, light and easy to turn into ornaments. These Santa wine cork ornaments are a cute way to recycle corks into festive decorations or handmade gifts.
They would be perfect for a wine-loving friend, a holiday hostess gift, a Christmas market table or a handmade ornament exchange. Add a loop of twine or ribbon to hang them on the tree.
You can also adapt the idea into snowmen, reindeer, elves or tiny carolers.
Recycled Wine Cork Ornaments
For a more decorative cork idea, this recycled wine cork ornament tutorial uses corks with ink, washi tape, paint pens, beads and charms.
This is a nice project if you want ornaments that feel a little more grown-up and artsy. They would look lovely on a small tabletop tree, tied to wine bottles as gift tags, or used as handmade decorations for a holiday party.
Corks are also lightweight, so they work well on trees where heavy ornaments are not ideal.
Upcycled Plastic Bottle Christmas Ornaments
Plastic bottles can be surprisingly pretty once they are cut, shaped and decorated. These upcycled plastic bottle Christmas ornaments turn plastic bottles into sustainable holiday decorations.
This is a great reminder that clear plastic packaging can mimic glass or acrylic when used thoughtfully. Plastic bottle pieces can become flowers, snowflakes, stars, icicles, baubles or layered ornaments.
If you like clear recycled materials, you may also enjoy Recycled Crafts’ post on making recycled #6 plastic Christmas ornaments.
Recycled #6 Plastic Shrink Christmas Ornaments
This Recycled Crafts tutorial for recycled #6 plastic shrink Christmas ornaments is a fun way to use certain clear plastic packaging.
The idea is similar to shrink plastic craft sheets, but uses recycled plastic instead. You can draw designs, cut shapes and shrink them into small ornaments or charms.
This is a good one for older kids, teens or adults who like experimenting with recycled materials. Just make sure you follow the safety notes for heating plastic and use the correct type.
Cellophane Origami Stars And Cranes
Clear cellophane packaging can be turned into delicate Christmas decorations too. Recycled Crafts has a tutorial for clear cellophane origami cranes and stars, which is a lovely idea for holiday crafting.
These could be hung in windows, added to the Christmas tree, used as gift toppers or strung into a garland. The translucent look catches the light beautifully, especially near fairy lights.
This is a gentle, low-cost way to reuse packaging that often feels too pretty to throw away but too awkward to store.
Recycled Christmas Card Jar Lid Ornaments
This recycled Christmas card ornament tutorial uses old cards and jar lids to make simple hanging ornaments.
It is a clever way to combine two recycled materials in one project. The jar lid acts as a little frame, while the Christmas card provides the artwork. Choose cards with snowy scenes, birds, wreaths, angels, Santas or pretty typography.
These would be especially sweet made from cards sent by family members, turning them into keepsake ornaments for future Christmas trees.
Handmade Ornaments From Recycled Items
If you want more recycled ornament inspiration, Recycled Crafts has an older roundup of 9 handmade ornaments made from recycled items. It is a useful extra link for readers who want to keep browsing holiday ideas made from reused materials.
This is a good place to send readers who already have a basket of odds and ends — cardboard, lids, paper scraps, packaging, ribbon, buttons and small found objects — and want more ideas for turning them into Christmas decorations.
A recycled ornament-making afternoon is also a lovely low-cost family tradition. Put out a tray of saved materials, glue, twine, paint and scissors, then see what everyone creates.
Tips For Making Recycled Christmas Crafts Look Polished
The easiest way to make recycled Christmas crafts look intentional is to use a simple colour palette. Choose two or three colours and repeat them across your projects. White, kraft brown and gold gives a soft natural look. Red, green and white feels classic. Blue, silver and white works beautifully for wintery decorations.
Texture also helps. Twine, ribbon, lace scraps, old music paper, book pages, buttons, jute, burlap and metallic paint can make recycled materials feel more finished.
If you are making ornaments from cardboard or paper, add a hanging loop before everything is fully glued together. If you are using jars, tins or plastic bottles, wash and dry them thoroughly first. For sharp edges on cans or cut plastic, cover the edges with tape, fabric, felt or trim.
Why Recycled Christmas Crafts Are Worth Making
Recycled Christmas crafts are not just about saving money, although that certainly helps during an expensive season. They also make Christmas feel more personal. A handmade ornament from last year’s cards, a snow globe from a jam jar, or a tiny Santa from a wine cork has a charm you cannot buy in a packet.
These projects are also a lovely way to reduce waste during a season that can create a lot of packaging, wrapping and leftover materials. Instead of tossing everything, you can turn some of it into decorations, gifts, tags and keepsakes.
So before you clear the table after wrapping presents or flatten every box for the recycling bin, save a few useful pieces. That old card, jar lid, tin can or cardboard tube might become your favourite decoration this year.
For more recycled holiday inspiration, browse 9 handmade ornaments made from recycled items, eco-friendly Christmas ornaments from toilet paper tubes, recycled #6 plastic shrink Christmas ornaments, and clear cellophane origami cranes and stars.