• Home
  • Suggest A Craft
  • DIY Newsletter

Recycled Crafts

Creative DIY Projects That Turn Trash Into Treasure

  • About CraftGossip
  • Our Network
    • Bath & Body Crafts
    • Candle Making Ideas
    • Crochet Ideas
    • Cross Stitch
    • Edible Crafts
    • Felting Patterns
    • Glass Art
    • Home & Garden Ideas
    • Indie Crafts
    • Jewelry Making
    • Kids Crafts
    • Knitting Patterns
    • Lesson Plans
    • Needlework
    • Party Ideas
    • Polymer Clay
    • Quilting Ideas
    • Recycled Crafts
    • Scrapbooking
    • Sewing Patterns
    • Card Making
    • DIY Weddings
    • Not Craft Ideas
  • Giveaways
  • Roundups
  • Store
  • Search

Recycled Easter Bunny Family

March 22, 2017 by Stefanie Girard

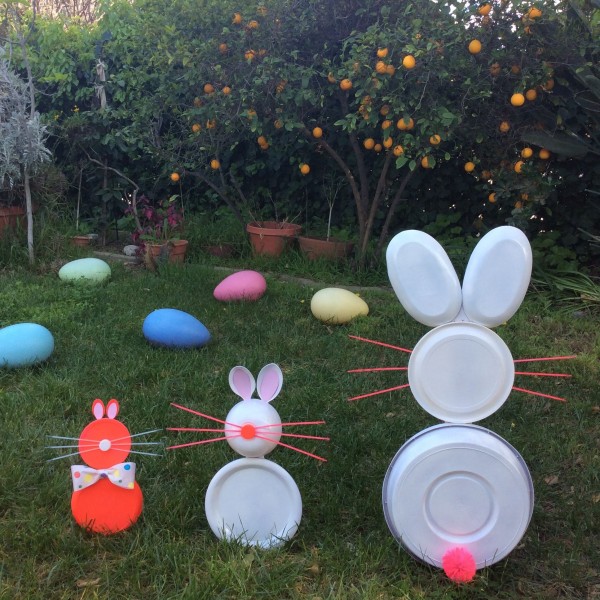
I don’t know about you but when I get an idea to make something I tend to make a bunch. Especially if they are going out in the yard. I had an idea to make some lawn bunnies out of recycled plastic plates, bowls, lids and caps. All it took to turn these recycled elements into an adorable bunny family was some Testors spray paint and craft paint. These paints are available at Target stores as well as at the Testors web site.

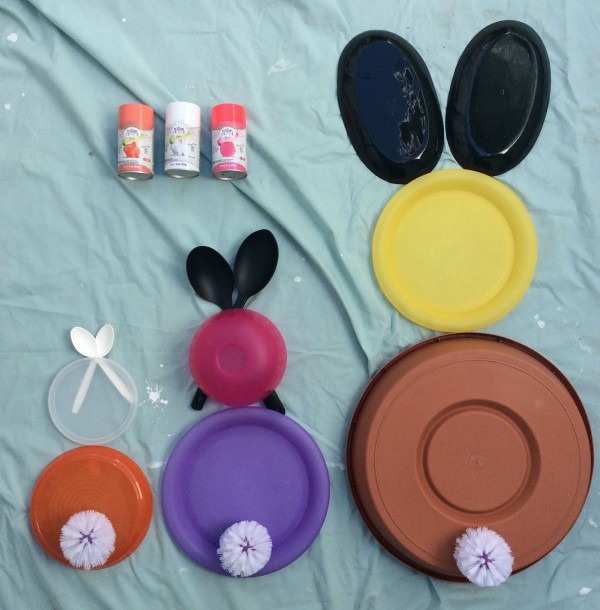
First up I gathered together all sorts of plastic plates, bowls, lids and even an extra potting tray for my largest bunny body.

For the ears I used regular spoons, large spoons and two large oval plates.

The tail was a toilet bowl brush-NOT a recycled one though:) A new one from the dollar store.

The whiskers are zip ties and the noses are plastic bottle caps.

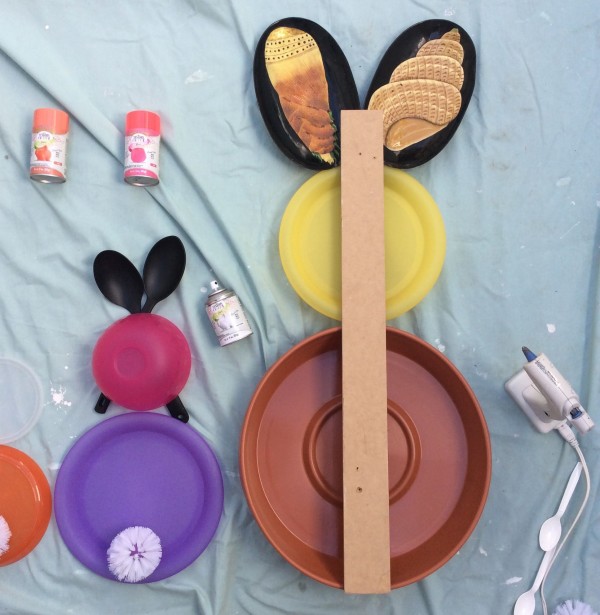
First up I hot glued everything together. The largest bunny has a center support of a scrap of wood.

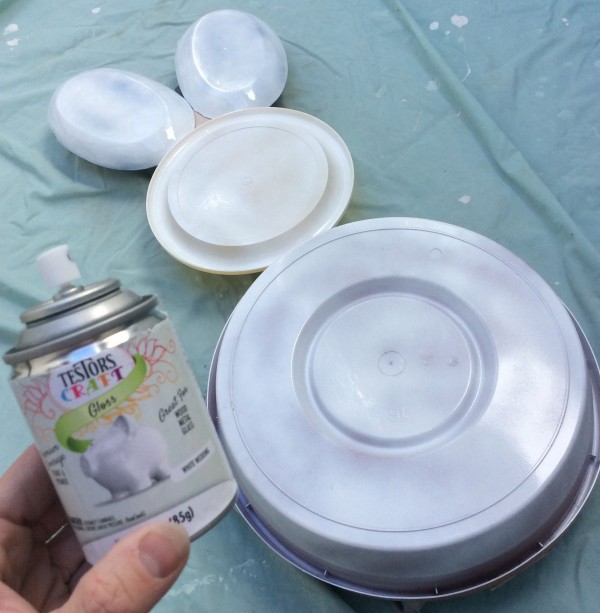
Next I spray painted the large and medium bunnies with White Testors Gloss Craft paint.

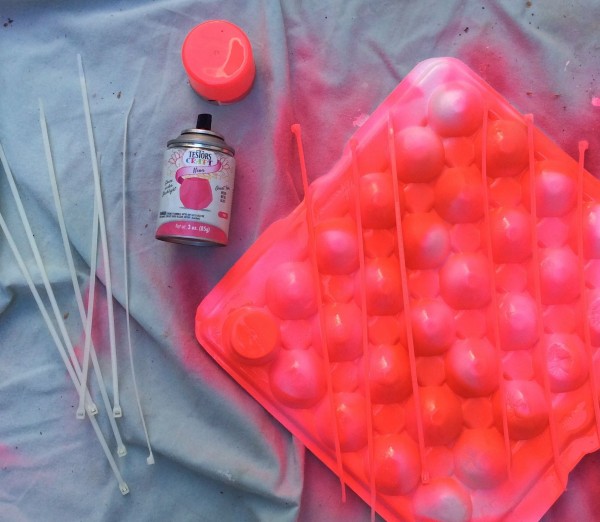
The smallest bunny, the whiskers and the tail I spray painted with Testors Neon Pink spray paint.

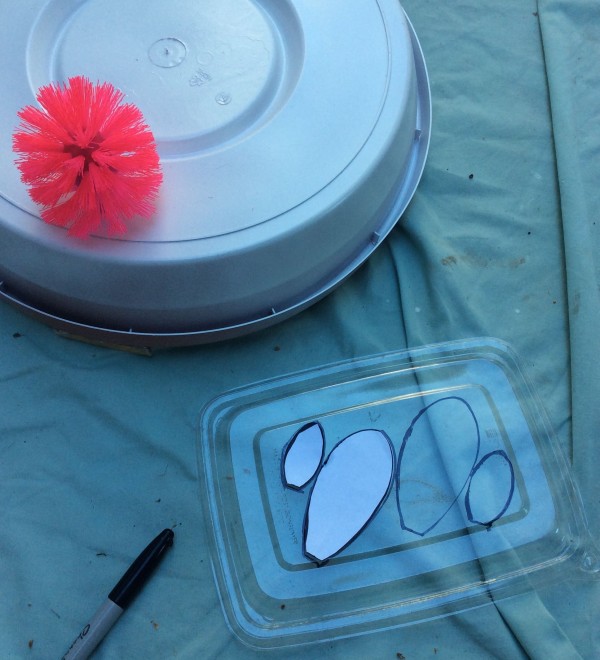
I cut the inside bunny ear pieces out of a recycled plastic lid.

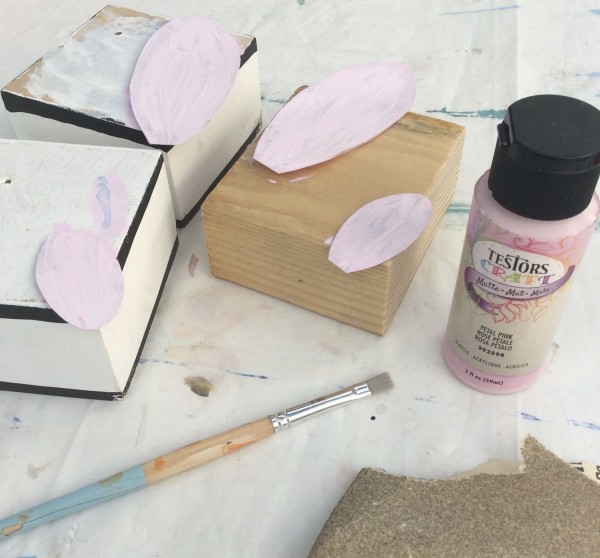
I sanded them a bit to help the Testors Craft paint in light pink stick nicely. This is what they looked like after the first coat. I did a second coat that gave them nice full coverage.

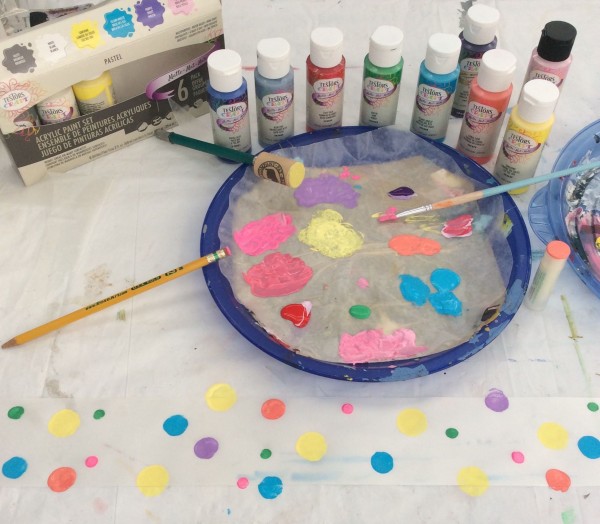
I wanted to dress up the littlest pink bunny with a bow but didn’t have something on hand so I used a pencil erasure, chap stick and cork to paint polka dots on a piece of white ribbon using a variety of colors of Testors Craft Paints.

I had so much fun making these cute little Easter bunnies to decorate my yard along with my super sized Easter Eggs. I bet you will have fun too making them in all sizes and colors!

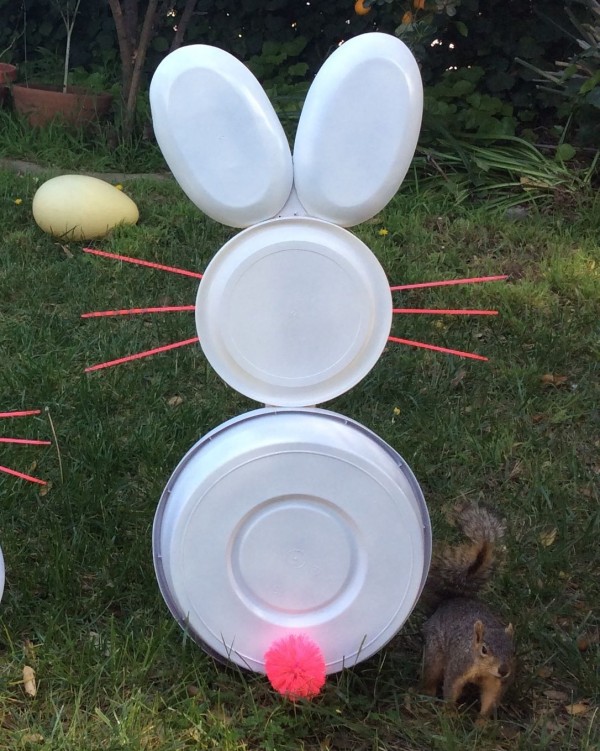
Even my “squirrel kid” liked them! Hoppy Easter everyone!


Related Posts:

  • Upcycling or Hoarding? Why Your DIY Projects Could…
  • How to make concrete Easter eggs
«
»

Have you read?

Floppy Disk Crafts: Clever Ways to Upcycle Retro Tech

Floppy disk recycled crafts title

Remember floppy disks? Those square little tech relics that used to hold our precious documents and school assignments? If you’ve got a stash of them hiding in the back of a drawer—or you stumble across some at a thrift store—don’t toss them just yet. Floppy disks are surprisingly perfect for upcycled crafting, and these ideas will have you looking at old tech in a totally new way.

One of the most popular ways to breathe new life into these retro icons is by turning them into DIY wall clocks. Whether you keep it simple with one floppy as the clock face or build a larger wall piece using multiple disks, the result is a geeky, functional work of art. Check out the step-by-step guide on Instructables for building your own floppy disk wall clock—it’s a timeless craft, literally!

Want to carry your nostalgia with you? Then you’ll love the floppy disk purse or bag ideas. These functional fashion statements are made entirely from joined-up disks, forming a sturdy and super unique bag. There are tutorials on how to make a full shoulder bag, a clutch, and even a pencil case using nothing but zip ties and some creativity.

Need a conversation-starting piece of décor? A floppy disk chandelier might be just the thing. It’s bold, futuristic, and a brilliant way to show off your upcycling skills. Alternatively, you can go green and make a floppy disk planter—perfect for succulents or desk plants. Just pop out the disk’s center, line it with plastic, and add soil. It’s easy, stylish, and great for small-space gardening.

Looking for quick, crafty projects? Try turning a floppy into a notepad, a photo frame, or a cutlery holder. These smaller projects make great DIY gifts, and they’re perfect for crafters who want instant gratification. You can even make Christmas bows or flowers out of old disks for a fun and shiny holiday twist.

For those who love organizing their craft supplies or electronics, floppy disks can be transformed into component organizers or bill caddies. With a little hot glue and imagination, they make excellent mini shelving units and storage boxes.

Feeling ambitious? Dive into the more elaborate builds like a laptop desk, a lampshade, or even a quirky birdhouse made entirely from floppy disks. These projects take upcycling to the next level and are sure to impress anyone who sees them.

Make a Floppy Disk Wall Clock : 9 Steps – Instructables

Floppy Disk Bag : 12 Steps (with Pictures) – Instructables

Geeky Floppy Note Pad — CraftBits.com

Floppy Disk Chandelier : 8 Steps (with Pictures) – Instructables

DIY Floppy Disk Planters – Brit + Co /

Floppy Disk Planter  

Floppy Disk Art

How to Turn Old Floppy Disks Into Bracelets, Necklaces, or Belts – Instructables 

Upcycled Component Organizer – Make:

Floppy disk photo frame

Wall Clock 

DIY Floppy Disk Planter

Floppy Disk Art | Euromaxx

Bird house 

Cutlery Holder

Floppy Disks Into Pencil Cases • Recyclart 

Floppy Disk Bill Caddy : 3 Steps – Instructables

Make a Floppy Disk Wall Clock : 9 Steps – Instructables 

Floppy Disk Laptop Desk/Stand – Instructables

Disk Combobulation 

Floppy Disk Succulent Planter : 3 Steps (with Pictures) – Instructables 

Floppy Disk Lampshade (with Pictures) – Instructables

Recycled Flowers From DVDs, CDs, and Floppy Disks

USB Flash Diskette : 7 Steps (with Pictures) –

Christmas Bow / Flower From Floppy Disks : 7 Steps (with Pictures) 

Notebook From Old Floppy Disks : 9 Steps (with Pictures)

And of course, there’s wearable tech too. You can cut up and reshape floppy disks into bracelets, necklaces, or belts that scream ’80s nostalgia. It’s retro-futurism at its finest.

Let’s not forget about combining media: recycled flowers and art pieces that use floppy disks, CDs, and DVDs together to create dazzling pieces with texture and shine. Whether you’re decorating your craft room or making a gallery-worthy art piece, these materials are a dream to experiment with.

So next time you come across a box of floppy disks, don’t see e-waste—see endless crafting possibilities. With just a few tools and a lot of imagination, you can turn outdated tech into something totally unique and totally you.

Explore

books Christmas CraftGossip Giveaways Craft Inspirations Easter glass halloween Home Decor kid crafts More Crafts Patterns & Tutorials recycled art Recycled Clothing Recycled Jewelry Recycled kids crafts Recycled Sewing Recycled Tutorials Recycling Ideas Recycling Organizing tin can

RSS More Articles

  • Create Personalized Dish Towels with DIY Infusible Ink: A Simple Craft Idea
  • DIY Clay Egg Tray – Handmade Farmhouse Charm for Your Kitchen
  • Textured Hat Knitting Patterns
  • Free Crochet Skull and Bones Granny Square Pattern
  • Easy Fall Crafts To Decorate Your Home
  • Copycat Sizzler Cheese Toast Recipe – Bring Back the Family Favorite
  • Floppy Disk Crafts: Clever Ways to Upcycle Retro Tech
  • Etsy Spotlight: Goose Baby Lovey PDF Pattern
  • Summer Accordion Mini Album
  • How to Make 3 NEW Pinwheel Quilts – Free Quilting Tutorial

Copyright © 2025 · CraftGossip | Start Here | Contact Us | Link to Us | Your Editors | Privacy and affiliate policy