• Home
  • Suggest A DIY
  • DIY Newsletter

Recycled Crafts

Creative DIY Projects That Turn Trash Into Treasure

  • About CraftGossip
  • Our Network
    • Bath & Body Crafts
    • Candle Making Ideas
    • Crochet Ideas
    • Cross Stitch
    • Edible Crafts
    • Felting Patterns
    • Glass Art
    • Home & Garden Ideas
    • Indie Crafts
    • Jewelry Making
    • Kids Crafts
    • Knitting Patterns
    • Lesson Plans
    • Needlework
    • Party Ideas
    • Polymer Clay
    • Quilting Ideas
    • Recycled Crafts
    • Scrapbooking
    • Sewing Patterns
    • Card Making
    • DIY Weddings
    • Not Craft Ideas
  • Giveaways
  • Roundups
  • Store
  • Search

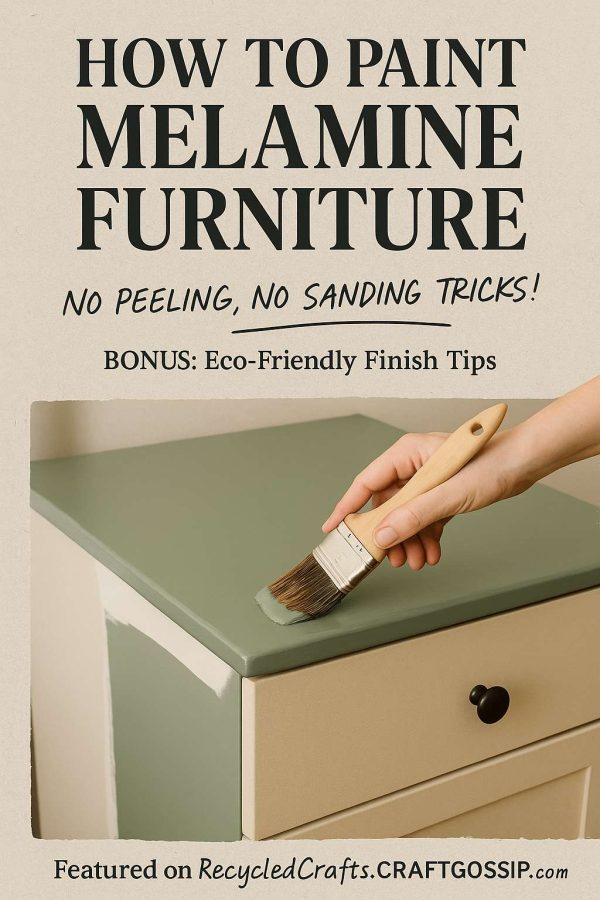
How to Paint Melamine Furniture

June 29, 2025 by Shellie Wilson

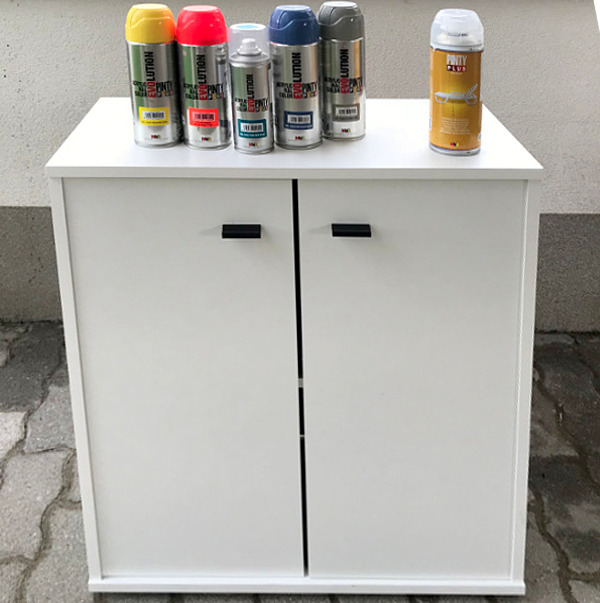
Recently, we received an email from Jenny, one of our readers, asking for some advice on painting melamine furniture. Jenny was looking to refresh an old dresser but wasn’t sure about the right way to tackle the project. Well, we’ve got just the thing! After some digging, we came across a fantastic article on Spraypaint Blog titled How to Recycle and Paint Melamine Furniture, which walks you through the process step-by-step.

Why This Article is Perfect for Jenny (and You!)

This guide is incredibly comprehensive, covering everything you need to know about painting melamine—an often tricky material to work with. Melamine is known for its smooth, glossy surface, which can be tough to paint without the right preparation. But with the tips from this article, you’ll learn how to properly prep your melamine pieces, choose the right paint, and achieve a professional-looking finish.

The article also dives into the importance of sanding and priming the surface to ensure that the paint adheres well. With these steps, Jenny (and anyone else trying this project) can be sure that their painted melamine furniture will not only look great but last for years to come.

Jenny, we hope this article gives you all the info you need to tackle your melamine furniture project! It’s clear from the tutorial that a little prep work goes a long way, and with the right products, even melamine can be transformed into a beautiful, personalized piece.

For anyone else curious about painting melamine, check out the full article on Spraypaint Blog for all the tips and techniques: How to Recycle and Paint Melamine Furniture. Happy painting!

My Tips for Painting Melamine Furniture

Hey Jenny (and anyone else planning a melamine project), here are my top tips to help you get the best results when painting melamine furniture:

Prep is Key
Clean the surface well, then lightly sand it with fine-grit sandpaper to give the primer something to grip onto. Trust me, it makes a big difference!

Prime Like a Pro
Don’t skip the primer! Use a bonding primer that’s made for glossy surfaces or melamine. It’ll make sure your paint sticks and lasts.

Pick the Right Paint
Go for a good enamel or acrylic paint. I use a foam roller for a smooth finish—no brushstrokes! Apply a few thin coats, letting each one dry in between.

Topcoat for Durability
Once the paint’s dry, apply a protective topcoat (polyurethane or polycrylic) to help it stay scratch-free.

Give It Time
Let the paint cure for at least 48 hours before using the furniture—longer is even better! It’ll help the finish hold up over time.

Get Creative
Don’t be afraid to try fun colors or finishes! Melamine is perfect for getting a bit adventurous.

«
»

Have you read?

DIY Review: Vintage Milk Can Side Table Makeover – Upcycled Charm with a Story

You know that thrill when you find an old, rusty piece of junk and immediately see its potential? That’s exactly the vibe I got reading the tutorial from A Pretty Happy Home on turning a vintage milk can into a side table. It’s one of those simple yet satisfying projects that blends upcycled charm with real functionality—and adds a whole lot of character to your space.

First off, there’s just something magical about milk cans. They’ve got history. You just know they’ve lived on a dusty farm porch or sat beside a barn door through decades of seasons. In this project, that history gets to shine—literally—after a little elbow grease and creative thinking.

What I loved about this makeover is how unfussy it is. The milk can wasn’t scrubbed within an inch of its life or made to look overly polished. Instead, it got a respectful refresh: a little cleaning, a bit of clear coat to protect the patina, and a sturdy, round wood top to complete the transformation into a DIY farmhouse side table.

The wood top itself was made from leftover pieces—hello, recycled wood projects—which gives this whole DIY an extra eco-friendly touch. It’s a small win for the environment and a big win for anyone who appreciates budget-friendly home decor that doesn’t look cheap.

You don’t need fancy tools or a woodworking shop to pull this off. That’s the beauty of these repurposed furniture ideas—they’re accessible. And they let the vintage pieces speak for themselves. This one, in particular, looks just as good next to a cozy armchair as it would on a porch with a cup of tea and a warm breeze.

The final result? A rustic milk can side table that’s equal parts practical and nostalgic. It’s got that collected-over-time feel that you just can’t buy from a big box store. And as someone who loves giving old things new life, it absolutely inspired me to go digging through the nearest antique store (or maybe my parents’ shed) to see what I can rescue next.

If you’re looking for easy upcycled decor projects, or a way to add authentic farmhouse style without breaking the bank, this tutorial is a perfect weekend project. Honestly, this is the kind of piece that guests will ask about, and you’ll get to say, “Oh, that old thing? I made it.”

And you will say it with pride.

Explore

books Christmas CraftGossip Giveaways Craft Inspirations Easter glass halloween Home Decor kid crafts More Crafts Patterns & Tutorials Recycled and Thrifted Ideas recycled art Recycled Clothing Recycled Jewelry Recycled kids crafts Recycled Sewing Recycling Ideas Recycling Organizing tin can

Featured Posts

Recycled lumber outdoor shower

Upcycle with sizzix, die cutting, how to, recycled crafts

Giveaway: Upcycle With Sizzix: Techniques and Ideas for using Sizzix Die-Cutting and Embossing Machines

Collage board for the New Year

How to make a kitty garland out of recycled magazines

Free Halloween Bingo game with candy corn markers

RSS More Articles

  • AITA for Charging Extra for Rush Orders (Even Though I Work From Home)
  • Cross Stitch a Job and Get a Jump on Holiday Crafting
  • Book Review: Unauthorized Ultimate K-Pop Fanbook – Girl Group Edition
  • Flavoured Ice Cubes for Whiskey Lovers
  • Dollar Tree Strainer Pumpkin Tutorial
  • FREE Dragonfly Die Cut Card Download
  • DIY Review: Vintage Milk Can Side Table Makeover – Upcycled Charm with a Story
  • Book Review: Simple Sashiko – 20 Easy Projects to Create & Inspire
  • Book Review Wednesday: 3D Beaded Animal Crafts for Kids
  • Easy Lacing Cards to Make for Kids

Copyright © 2026 · CraftGossip | Start Here | Contact Us | Link to Us | Your Editors | Privacy and affiliate policy