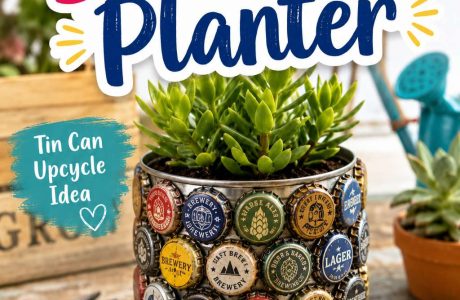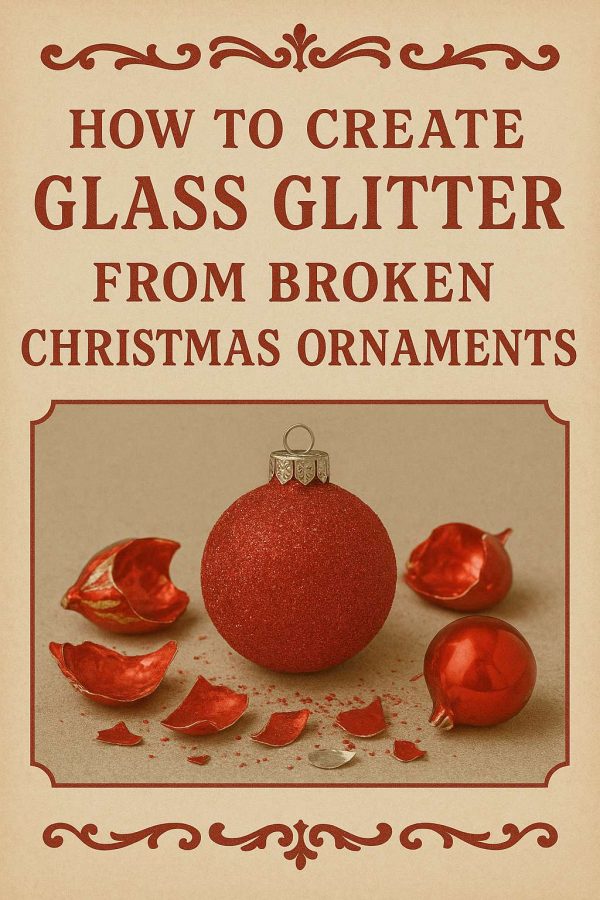
Don’t throw that vintage broken glass ornament out! And you don’t have to be sad about it either. This is just the project to repurpose those tarnished and broken ornaments that didn’t make it through the year in storage. You can turn them into vintage glass glitter and then used for things like filling new clear ornaments to make them sparkle.
If you’re anything like me, you’ve probably got a little stash of battered old Christmas baubles — the ones that have lost their hangers, chipped on one side, or somehow turned up in the decorations box even though no one remembers buying them. These old glass ornaments might look past their festive prime, but they’re absolute gold for one thing: making proper vintage-style glass glitter.
The kind of glitter that looks like it stepped straight out of a 1950s Christmas catalogue — soft, twinkly, slightly tarnished, and unbelievably pretty.
This homemade glass glitter is perfect for holiday crafts, mixed-media projects, paper ornaments, candle decorations, and anything that needs that nostalgic holiday shimmer we all secretly crave.
Why Old Glass Baubles Make the Best Glitter
Vintage baubles were often made with thin, brittle, lightly-coated glass — which means:
- They crush beautifully into delicate shimmering flakes.
• The silvering inside gives the glitter that warm, antique glow.
• The colours blend into soft, romantic tones (nothing neon or plastic-looking).
• You can reuse broken ornaments instead of tossing them out.
Honestly, they were made for this.
What You’ll Need
- Old or unwanted glass Christmas baubles (not plastic)
• Heavy-duty zip-lock bag or thick freezer bag
• Small hammer, mallet, or rolling pin
• Towel or scrap fabric for wrapping
• Fine metal sieve
• Baking tray
• Optional: mica powder for tinting or soft sparkle
• Gel medium or PVA for future crafting
Safety essentials:
• Gloves
• Safety glasses
• A well-ventilated workspace or outdoor area
Step-by-Step: Turning Vintage Baubles Into Glass Glitter
1. Check Your Baubles
Choose glass ornaments only — not shatterproof ones.
The older the better: chipped, scratched, flaking, or faded baubles give the most charming glitter.
Remove metal caps and any wires.
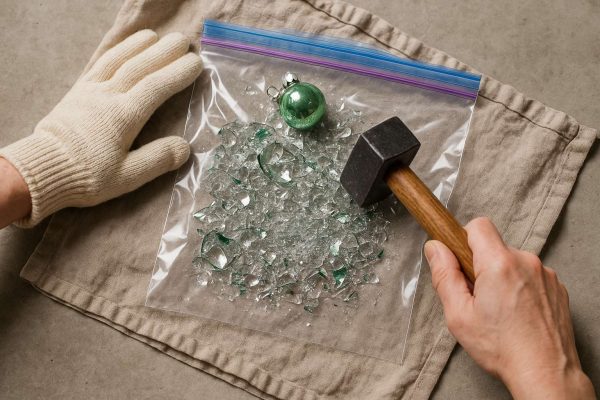
2. Bag & Wrap
Place a few baubles into a zip-lock bag.
Wrap the bag in an old towel to stop any sneaky shards escaping.
Lay it on a sturdy surface like your garage floor or an outside bench.
3. Tap, Don’t Smash
Use a hammer or mallet to gently tap the baubles.
You’re aiming for tiny sparkling flakes — not dust, not big chunks.
This part is weirdly therapeutic. Just go slow.
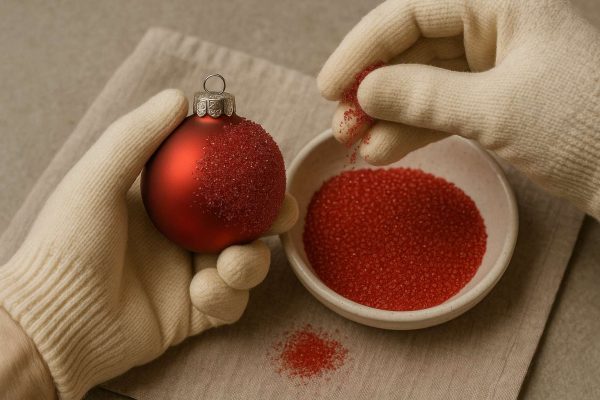
4. Sift the Sparkle
Pour the crushed bauble mixture into a metal sieve over a baking tray.
Shake gently.
The fine glitter falls through; larger chunks can go back into the bag for another light tap.
Keep sifting until you have a tray full of shimmering, vintage-looking glass flakes.
You’ll notice the colours blend beautifully — soft silvers, faded pinks, muted golds, pearly whites — depending on what baubles you used.
5. Optional: Add Mica for an Antique Glow
If you want to enhance the sheen, sprinkle a tiny pinch of mica powder over the glitter and stir with a disposable spoon.
Champagne, pearl, silver, and rose gold work especially well.
6. Bake to Set the Shine
Spread your glitter out evenly on a tray.
Bake at 180°C for about 10 minutes to set the colour and dry any moisture.
Let it cool completely before touching — glass holds heat longer than you’d expect.
7. Store in a Pretty Jar
Because handmade glitter deserves a little glamour.
A recycled spice jar makes it easy to sprinkle onto future craft projects.
Crafty Tips for the Best Handmade Glass Glitter
- Mix colours of baubles for a softer, aged sparkle.
• For a “Victorian Christmas” look, favour silver and tarnished gold baubles.
• Broken baubles? Perfect — no guilt smashing those.
• Keep a second jar for larger flakes to use on rustic projects like wooden stars or fabric ornaments.
• Gel medium gives the best adhesion without looking cloudy.
Where to Use Your Vintage Bauble Glitter
- Paper snowflakes
• Wooden stars
• Mason jar lids
• Handmade gift tags
• Christmas cards
• Upcycled ornaments
• Wreaths and garlands
• Bottlebrush trees
• Mixed-media art
The finish is so gorgeous you’ll find yourself dusting it over half your holiday crafts.
A Gentle Reminder About Safety
We’re smashing old glass, so no shortcuts here.
Wear gloves. Wear glasses. Keep pets and kids out of the room (Aloo always thinks anything in a bag is a treat). Wipe down surfaces afterwards with a damp cloth.