• Home
  • Suggest A Craft
  • DIY Newsletter

Recycled Crafts

Creative DIY Projects That Turn Trash Into Treasure

  • About CraftGossip
  • Our Network
    • Bath & Body Crafts
    • Candle Making Ideas
    • Crochet Ideas
    • Cross Stitch
    • Edible Crafts
    • Felting Patterns
    • Glass Art
    • Home & Garden Ideas
    • Indie Crafts
    • Jewelry Making
    • Kids Crafts
    • Knitting Patterns
    • Lesson Plans
    • Needlework
    • Party Ideas
    • Polymer Clay
    • Quilting Ideas
    • Recycled Crafts
    • Scrapbooking
    • Sewing Patterns
    • Card Making
    • DIY Weddings
    • Not Craft Ideas
  • Giveaways
  • Roundups
  • Store
  • Search

How to make a sprinkle donut bulletin board

April 11, 2018 by Stefanie Girard

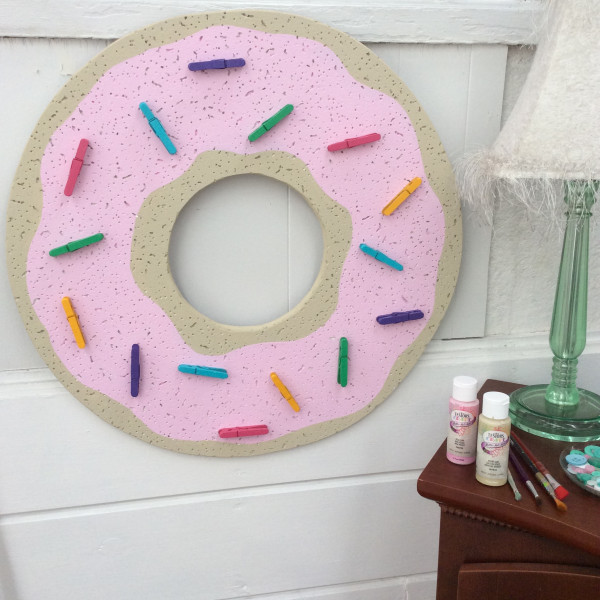
Do donuts make you smile? If so, why not make a giant donut bulletin board that will make you happy as well as keep you organized. Better yet, make two and give one to your mom for Mother’s day after all I bet mom likes pretty things that keep her notes organized. This big donut is easy to paint with Testors craft and spray paint.

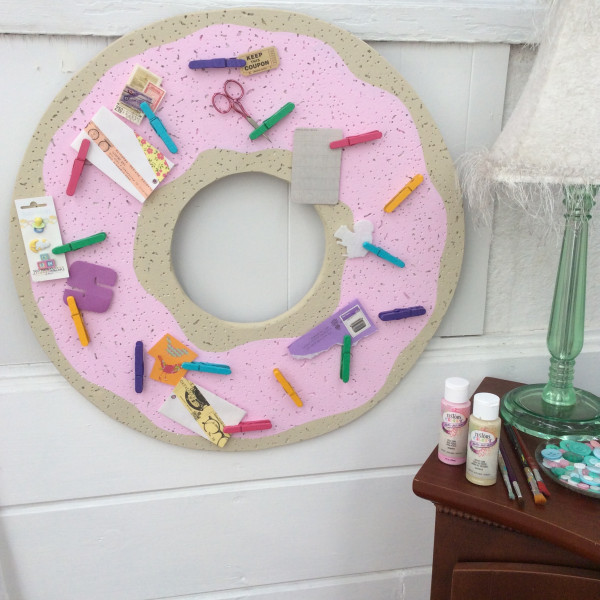
The donut looks just as fun full of notes, bits of ephemera to collage with, craft supplies and even a tiny pair of scissors fit nicely in the clothes pin sprinkles.

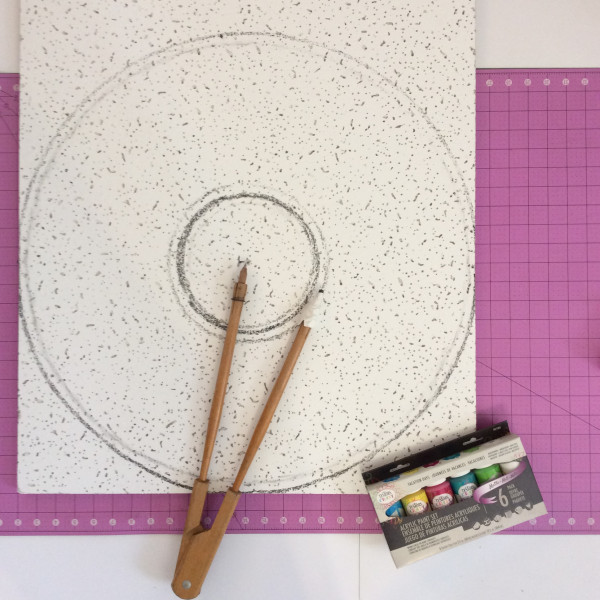
The first step is to draw the outer circle and inner circle of the donut on a panel of drop ceiling tile. I think I paid about $4 for a 2×4 foot piece. You can make 2 donuts out of 1 panel.

Next I carefully cut out the donut shape. Again this is pretty easy as the drop ceiling tile is pretty soft. I did a bit of sanding after I cut the shape to smooth out any rough edges.

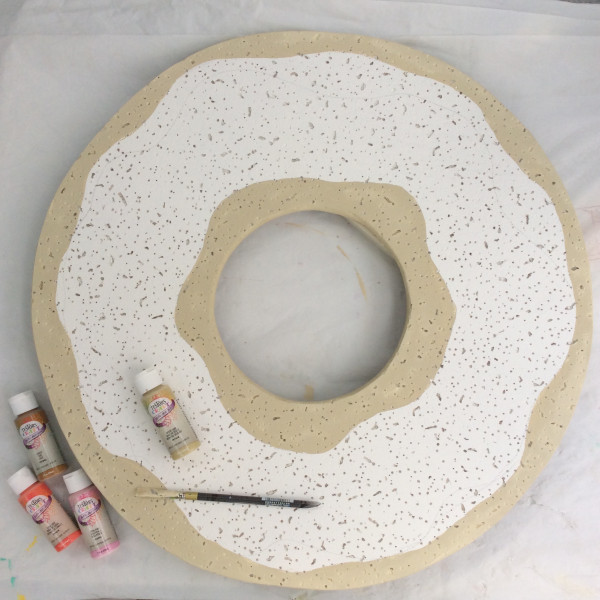
After I sketched the frosting area out on the donut it was onto the colorful part. I painted the “dough” area of the donut with Testors Craft paint in Desert Sand.

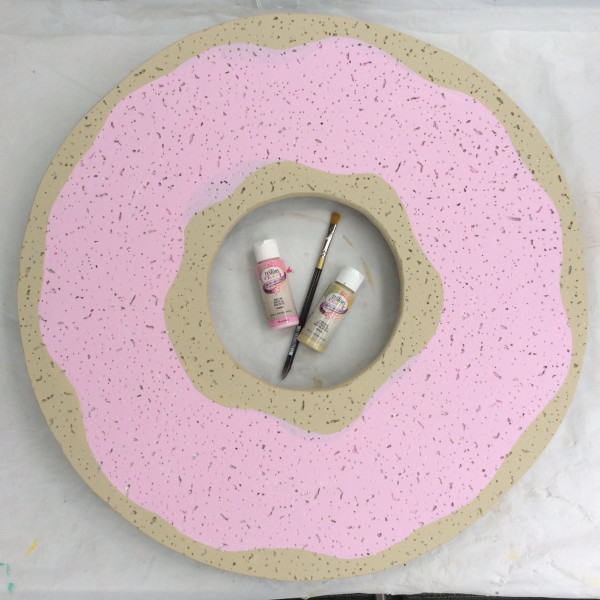
I painted the frosting area of the donut with Testors Craft paint in Petal Pink. I did 2 coats of each color.

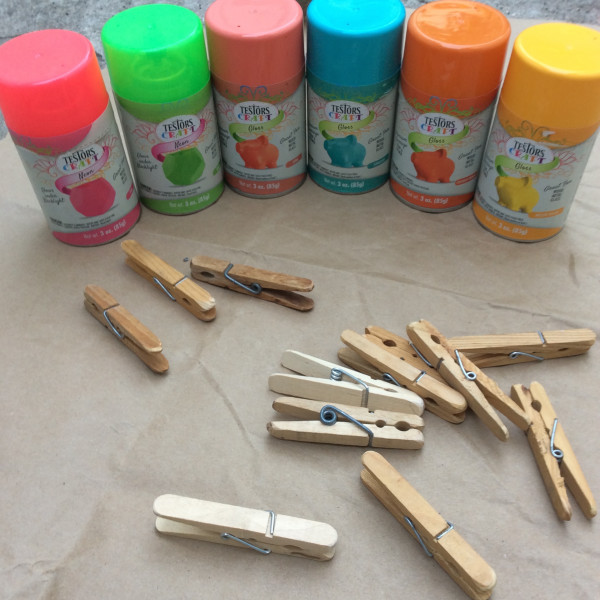
To make the sprinkle clips I used wood clothes pins. I sanded the corners so that they were slightly rounded and would look a bit more like a sprinkle.

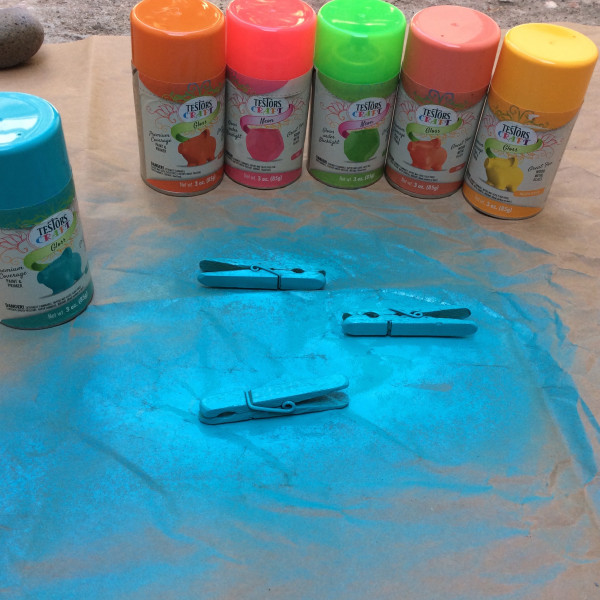
I painted 3 sprinkle clips in each color. I used Testors Craft spray paint in Turquoise, Concord Grape, Neon Pink, Valley Green and Mellow Yellow.

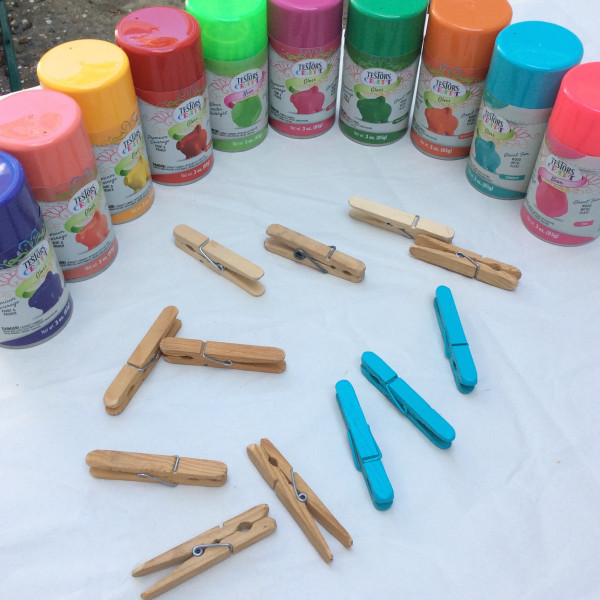
There are so many pretty colors to choose from you could use all sorts of combinations and varieties.

All that was left to do was hot glue the sprinkle clips onto the giant donut and a wire on the back to hang it up.

Thank you to Testors.com for sponsoring this post. All opinions are my own.

Happy Mother’s Day to all the “Sweet” moms out there!

Related Posts:

  • How to make recycled clothes pin puppets
  • Clothes pin Christmas trees and lots of garland ideas
«
»

Have you read?

Recycled Paper Cylinder Face Art – A Colorful Win for All Ages

I recently stumbled across this super creative project on Instructables – “Face With Recycled Paper Cylinders” – and I had to share it with you all because it’s just the kind of craft that checks all my favorite boxes: recycled materials, hands-on creativity, and fun for literally any age.

The idea is simple but genius—roll strips of recycled paper (think junk mail, old magazines, leftover printer paper) into cylinders, then arrange and glue them to form a unique abstract face. You can make it funky, realistic, Picasso-inspired—whatever your mood or style dictates!

What I really love is the blend of eco-conscious crafting with true artistic expression. This isn’t just another kids’ project—it’s something you could easily do with a group of little ones, a classroom full of teens, or even as an adult art therapy or weekend wind-down activity. It’s super relaxing and surprisingly satisfying seeing all those paper rolls come together to form something new and expressive.

The tutorial itself is easy to follow, with plenty of visuals to guide you along the way. You don’t need any fancy materials—just glue, paper, scissors, and a board or piece of cardboard to serve as your canvas.

I also appreciate how this project leaves so much room for personalization. Want to make it into a full face? Go for it. Prefer to focus on a single eye or mouth? Totally works. You can even play with color schemes by choosing papers with a certain palette, or painting over them once they’re rolled.

In short: this is a total keeper for anyone who loves crafting with purpose. It’s the kind of project that sparks creativity while gently reinforcing the idea that beautiful things can come from what we usually throw away.

Highly recommend giving it a go—solo or with a group. And if you try it, tag me or drop a pic—I’d love to see your recycled masterpiece!

Explore

books Christmas CraftGossip Giveaways Craft Inspirations Easter glass halloween Home Decor kid crafts mason jar More Crafts Patterns & Tutorials recycled art Recycled Clothing Recycled Jewelry Recycled Sewing Recycled Tutorials Recycling Ideas Recycling Organizing tin can

RSS More Articles

  • DIY Valentine Shabby Chic Bookmarks: A Creative and Heartfelt Gift Idea
  • Stitch Stars: Taylor: Over 20 unofficial embroidery patterns for stitchy superfans
  • Bee Themed Mini Scrapbook Album
  • Fun Tank Top Knitting Patterns
  • Books to Get Ready for Back to School
  • Just Feel Festive Shawl crochet pattern by QuirkyMondayCrafts
  • Cozy Up Your Holidays with This Stunning Christmas Blanket!
  • 5 Must-Know Secrets to Turning Your Suburban Home into a Profitable, Sustainable Homestead
  • Recycled Paper Cylinder Face Art – A Colorful Win for All Ages
  • 12 FREE Summer Digital Stamps to Download

Copyright © 2025 · CraftGossip | Start Here | Contact Us | Link to Us | Your Editors | Privacy and affiliate policy