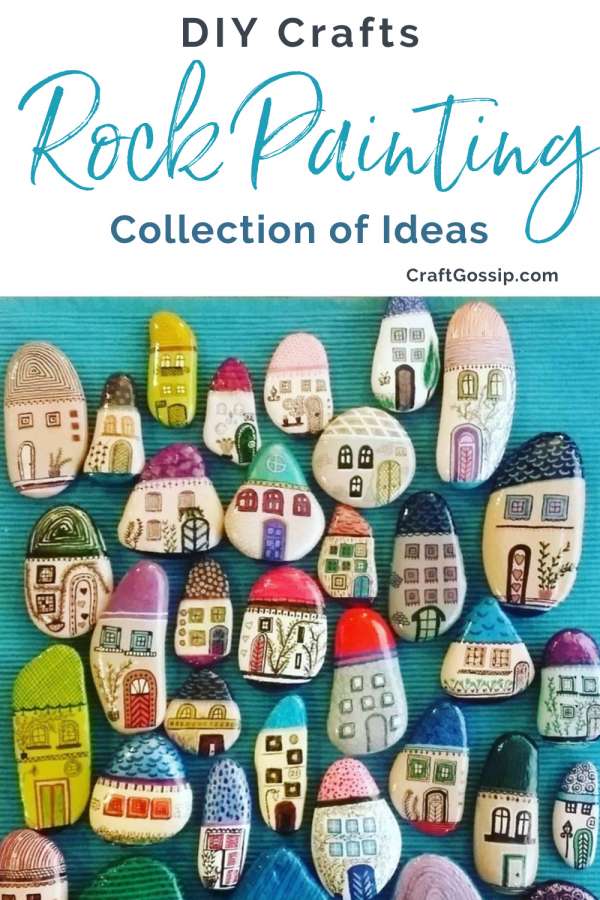
I love these houses painted on rocks. Rock painting is on my “to-do” list…along with a lot of other things but I keep collecting ideas and inspiration. Over at the blog Skill of King (updated to add: this blog is no longer active and we have removed the link) there is a whole bunch of great ideas and inspiration for some super-cute rock painting. Once you start I bet you will be like my neighbor who regularly leaves painted rocks all down the street including in my driveway.
Rock Painting is one of the latest crazes to hit young and old. Rock painting is so much fun and has even formed numerous groups around the world where painted rocks are left for people to find. All of these Rock painting projects are fun and easy to follow along. You can also check out our Rock Painting Pinterest board for more inspirational ideas.
The smoothest river rocks are the easiest to paint on but don’t let irregular rocks scare you off, instead look at them like you would a cloud in the sky, see what shape it looks like, and work from there
Rock painting and Rock dropping have become very popular this year as more people were isolated and needed encouragement to go for walks. My kids loved searching for painted rocks they found in the park, along the pathways and a few sneaky painted rocks I left in their own backyard.
We highly recommend using paint pens when working with rocks, they have a fine point and are far easier to draw with.
You can paint your rocks with themes in mind too – Check out these other articles we featured on painted rocks.
Check out these Rock Painting kits to get you started.
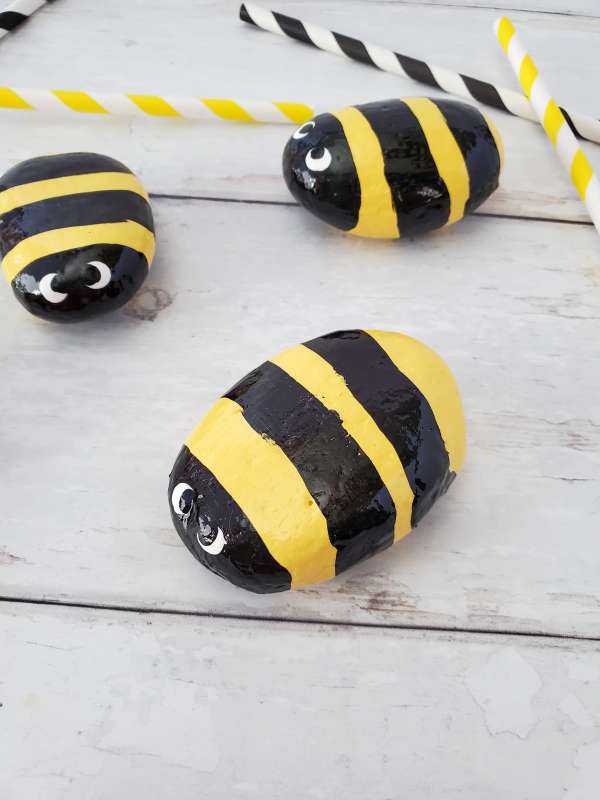
Check out this tutorial on making Bumble Bee Rocks.
Difficulty: Easy
Time to Make: 15 minutes, plus drying time
Supplies:
Oval river rocks – 1.5” x 2” used for this project
Yellow, black, and white craft paint or Paint pens
Paint brushes – 1” foam, ¼” flat angled artist brush, foam dabber
Directions:

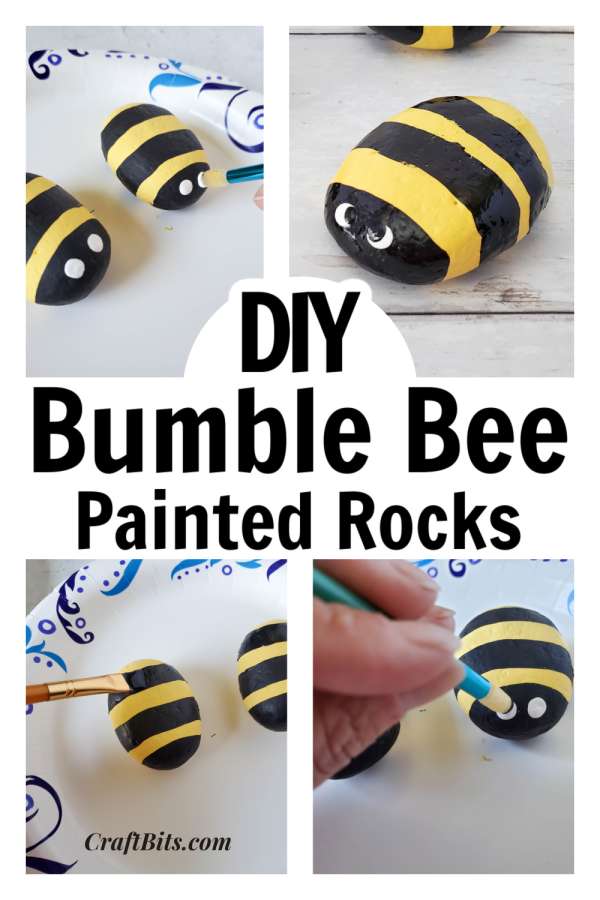
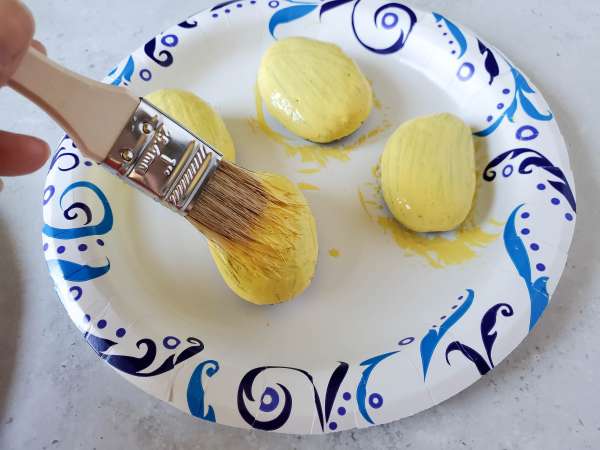
Paint the entire rock yellow, using the 1” foam brush. Allow to dry, then do a second coat, and also a third coat, if needed. You can speed up dry time by using a blow dryer if you wish.
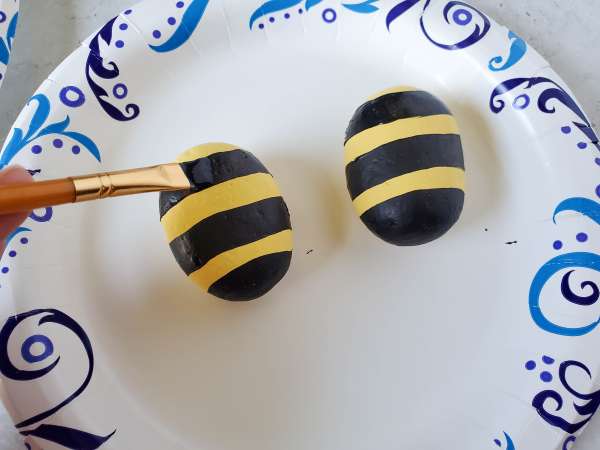
Use the ¼” flat angled artist brush to paint the “head” of the bee, and then black lines across the rock. Allow to dry.
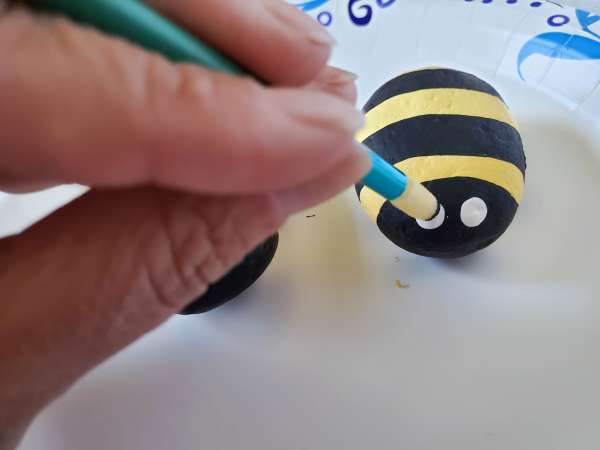
Use the foam dabber with white paint to make the eyes, and allow to dry.
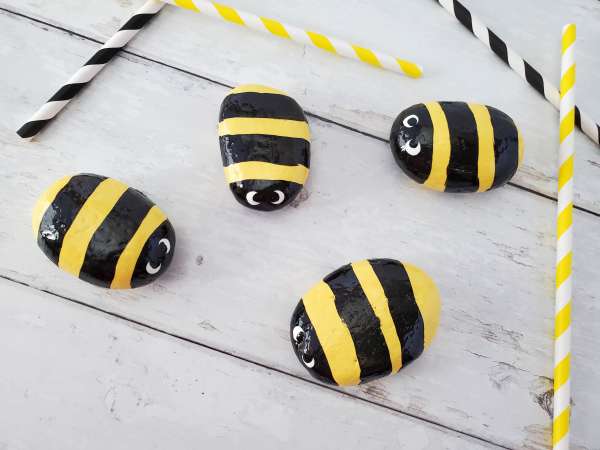
Use the foam dabber again, to just put a tiny dot of black paint in the middle of the white to finish the eyes.
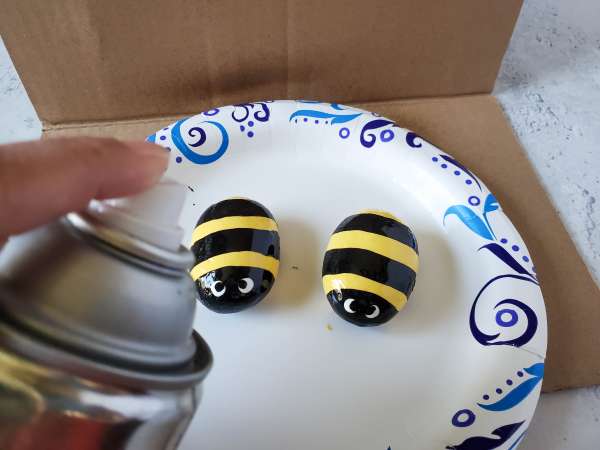
Once the rock is completely dry, spray with Krylon Clear Glaze to seal the paint, and protect it from the outdoor elements.
