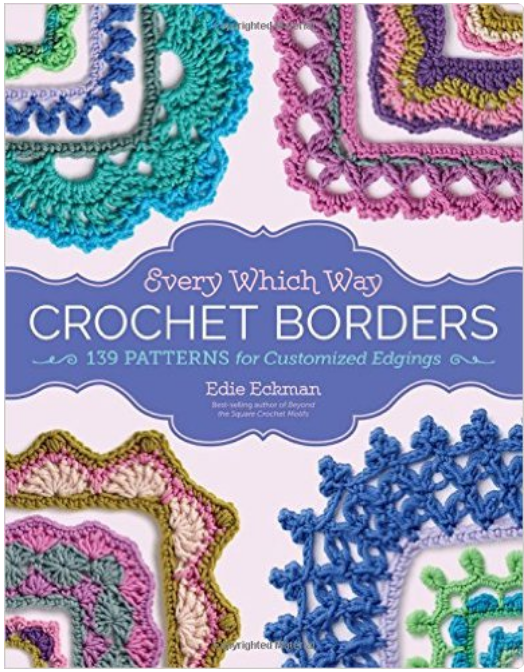
Giveaway- Every Which Way Crochet Borders: 139 Patterns for Customized Edgings
By
Edie Eckman
Leave a comment in today’s post by January 19, 2017 and you are in the running for this great crochet book by one of my favorite authors.
This book is great for crochet designers of all levels. It breaks down the designs so that you can use them for all sorts of projects and customize them to suit your yarn and color schemes. It covers lots of tips and techniques including adding crochet borders to textiles. My favorite part is a chart in the back that categorizes each border by individual characteristics. The photography is bold and clear so along with both chart and word patterns you can see and crochet these pretty patterns with ease.
Open to U. S. residents only please.
Step-by-step instructions and symbol charts put these 139 creative new border designs within reach for beginning and advanced crocheters alike. If you’re ready to chart your own crocheted course, Edie Eckman offers plenty of helpful design advice, including how to choose an appropriate border for each project and how to incorporate an element from the main stitch pattern into a new border design. She then explains, with the help of close-up photos, how the same pattern can have dramatically different results depending on the weight of the yarn. With each pattern diagramed to approach in both rounds and rows, Every Which Way Crochet Borders is an inventive and invaluable resource.

This book looks awesome, would love to add it to my library.
Those are beautiful borders
Lovely borders, I would love to try. Makes your project a little more elegant!