 Mariska of the blog No Time 2 B Bored sent in this post about how to convert those little food containers into little bead cups. I think this would make a spectacular holiday bazaar item.
[tags]how to make bead cups[/tags]
Creative DIY Projects That Turn Trash Into Treasure
Mariska of the blog No Time 2 B Bored sent in this post about how to convert those little food containers into little bead cups. I think this would make a spectacular holiday bazaar item.
[tags]how to make bead cups[/tags]
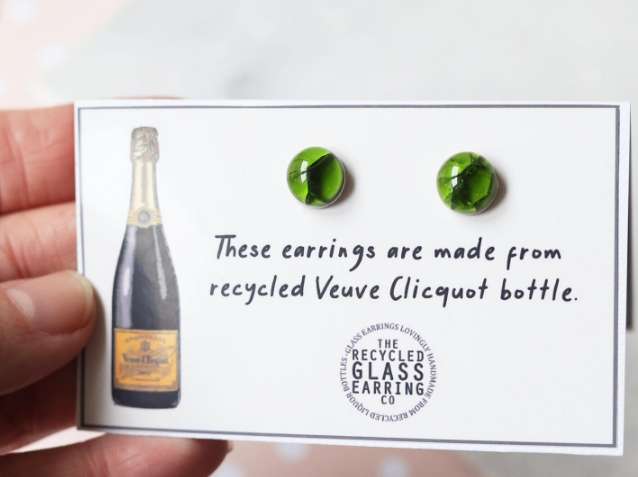
What better way to mark a special occasion than with a little bit of recycled luxury? These Veuve Clicquot Champagne bottle earrings are a fabulous way to add a touch of glam to any celebration—and they’re made from upcycled Champagne bottles! I can already picture wearing them to a dinner party or popping them on for a glass of bubbly to really feel like you’re celebrating in style.
The clever use of recycled glass from such an iconic brand brings a fresh, fun twist to your jewelry collection. I absolutely love that these earrings turn something so familiar and extravagant into wearable art, while keeping sustainability at the forefront. It’s such a cool, chic way to repurpose something that’s already had its moment and give it a new one.
Why they’re perfect for you:
Made from recycled Champagne bottles, these earrings bring eco-conscious style to your jewelry collection
A unique accessory that turns everyday luxury into wearable art
Ideal for special occasions, wine lovers, or anyone who enjoys adding a bit of sparkle to their outfit
Whether you’re attending a wedding, a special dinner, or just want to add a little pop to your day, these earrings are sure to make a statement. A stylish way to bring sustainability into your wardrobe—cheers to that!