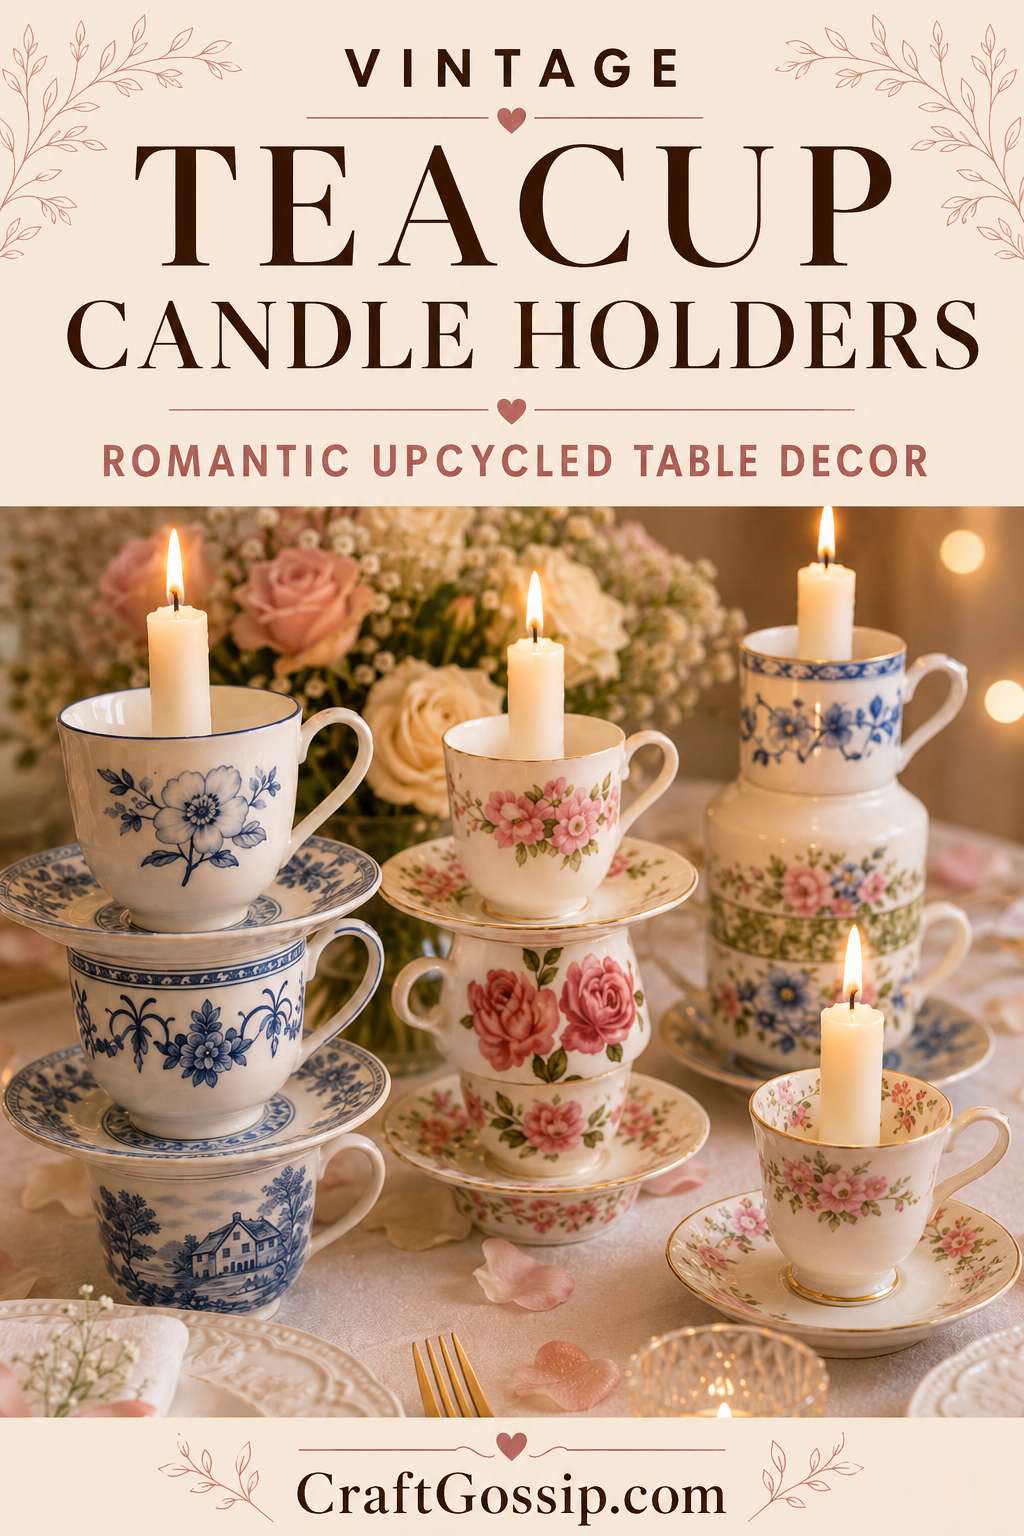
There’s something magical about old teacups. Maybe it’s the dainty handles, the delicate florals, or the memories of tea parties and fine china cabinets. Whatever the reason, vintage teacups have a way of tugging at the heartstrings. And instead of leaving them hidden behind glass, why not turn them into something beautiful and functional — like these elegant teacup candle holders?
This simple, creative project transforms mismatched thrift store finds into glowing towers of charm. Whether you use them as a dinner table centerpiece, wedding décor, or a sweet gift for a tea-loving friend, these candle holders are timeless, affordable, and bursting with character.
What You’ll Need
- 3–4 vintage teacups and saucers (try mixing florals, blue-and-white patterns, or gilded edges)
- Strong clear-drying adhesive such as E6000 or Gorilla Clear Grip
- Taper candle or LED candle (white, cream, or pastel tones work beautifully)
- Soft cloth and mild dish soap for cleaning
- Melted wax, Blu Tack, or sticky wax for securing your candle
- Optional: Small decorative base (like a saucer or silver tray) for added stability
Step 1: Hunt for Hidden Gems
Start with a little treasure hunt! Thrift shops, flea markets, and even your grandma’s china cabinet are great places to find old teacups. Don’t worry if they don’t match — that’s half the charm. Mix patterns within a color family (like soft pinks or blue-and-white) to keep it cohesive but interesting.
Step 2: Clean and Prep Your Cups
Give your teacups and saucers a gentle wash with warm soapy water. Dry them thoroughly — glue won’t stick to dust or moisture. If your cups have sticky price tags, use a bit of eucalyptus oil or Goo Gone to remove any residue.
Step 3: Play with the Stacking
Before gluing, test your layout. Flip some cups upside down to create interesting shapes or use a saucer between layers to add height and balance. A good rule of thumb: stack larger cups at the bottom and smaller ones on top to avoid tipping.
Take a quick photo once you love the arrangement — it’s your blueprint for the gluing stage.
Step 4: Glue it Together
Working one layer at a time, apply a small bead of strong adhesive around the rim or base where each piece meets the next. Press gently but firmly for a few seconds. Wipe away any excess glue immediately with a damp cloth.
Let each layer dry for about 30 minutes before adding the next to ensure stability. Once your entire stack is complete, let it cure for at least 24 hours for a rock-solid bond.
Pro Tip: Use a small level or ruler to make sure your tower isn’t leaning while it sets — once the glue dries, it’s permanent!
Step 5: Add the Candle Securely
Now for the finishing touch — the candle!
Here are three easy ways to make it stick perfectly in place:
- Hot Wax Method – Light a candle and drip a small pool of melted wax into the top teacup. Press the candle base into the soft wax and hold for 10 seconds until it sets. Once cooled, it will stand firm and straight.
- Blu Tack Method – Roll a small ball of Blu Tack, press it inside the teacup base, and stick the candle into it. This is ideal if you plan to swap out your candles often.
- Sticky Wax or Candle Adhesive – Found in craft and candle-making sections, this tacky wax is reusable and holds candles securely without damaging your teacup.
Step 6: Style and Display
Your finished teacup candle holder will look stunning on:
- A vintage tea tray for a shabby-chic centerpiece
- Your mantel, surrounded by books and flowers
- A wedding table, paired with lace and greenery
- Or as a gift, wrapped in tissue and tied with satin ribbon
Cluster two or three candle holders of varying heights for a layered, elegant look. The mix of porcelain sheen and candlelight gives off the most beautiful glow.
Safety Reminder
If using real candles, never leave them unattended or near fabrics and flowers. LED taper candles are a safe, equally gorgeous alternative — and you’ll never worry about drips on your precious china.
Creative Variations
- Paint chipped edges with a metallic gold marker for a “restored antique” look.
- Create a Christmas version using red and green floral teacups and festive candles.
- For an Easter brunch, choose pastel cups and add faux floral garlands around the base.
- Add a drop of essential oil or scented wax to the melted base for a light fragrance throw.
Why You’ll Love It
This project captures the heart of what crafting is all about — creativity, sustainability, and a touch of nostalgia. Every teacup tower tells a story, and when that candle flickers, it feels like the past and present coming together in the softest glow.
So next time you see a mismatched teacup at the thrift shop, scoop it up — it’s waiting to shine again.
Here is a video tutorial -https://www.facebook.com/reel/1398484498456025