• Home
  • Suggest A Craft
  • DIY Newsletter

Recycled Crafts

Creative DIY Projects That Turn Trash Into Treasure

  • About CraftGossip
  • Our Network
    • Bath & Body Crafts
    • Candle Making Ideas
    • Crochet Ideas
    • Cross Stitch
    • Edible Crafts
    • Felting Patterns
    • Glass Art
    • Home & Garden Ideas
    • Indie Crafts
    • Jewelry Making
    • Kids Crafts
    • Knitting Patterns
    • Lesson Plans
    • Needlework
    • Party Ideas
    • Polymer Clay
    • Quilting Ideas
    • Recycled Crafts
    • Scrapbooking
    • Sewing Patterns
    • Card Making
    • DIY Weddings
    • Not Craft Ideas
  • Giveaways
  • Roundups
  • Store
  • Search

Book Review – Big Thrift Energy

July 19, 2025 by Shellie Wilson

Big thrift energy- a guide to thrifting

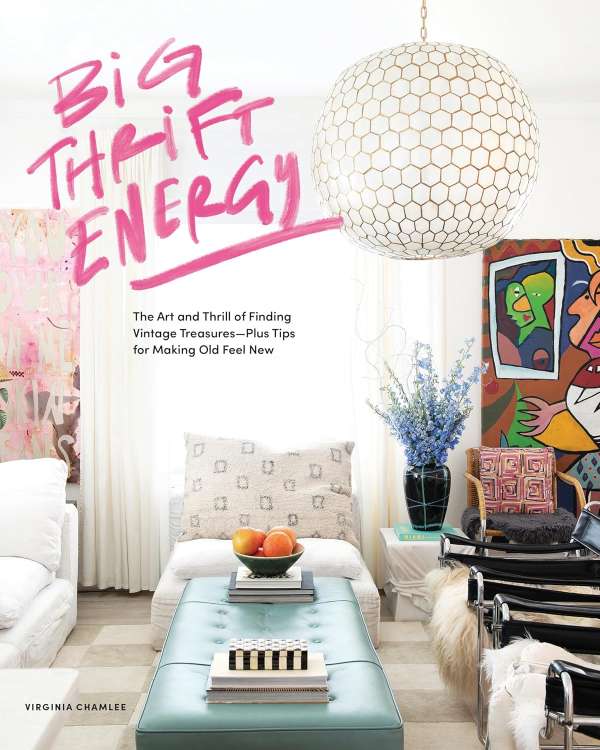
If you’re anything like me, the idea of scoring a treasure at a thrift store is pure magic. Big Thrift Energy by Virginia Chamlee captures that exact thrill of the hunt, making it impossible not to dive into the world of thrifting. Whether you’re a seasoned pro or a newbie, Chamlee’s insights are a game changer.

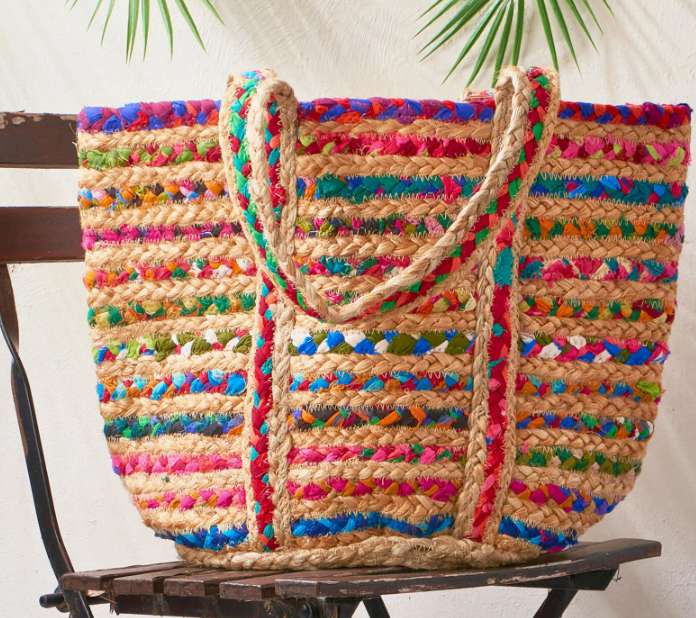
What I love most about this book is how Chamlee doesn’t just teach you how to find hidden gems—she shows you how to give them new life. From reupholstering vintage chairs to transforming old fabrics into something beautiful, Big Thrift Energy is packed with upcycling ideas that will make you see every second-hand item as a potential DIY masterpiece.

If you’ve ever walked into a thrift store and felt overwhelmed, Virginia’s tips will make you feel like a pro. Her friendly, down-to-earth style makes this book easy to follow, no matter your experience level. Plus, it’s not just about shopping for cool stuff—it’s about embracing the art of making something old feel brand new again.

As a fan of all things recycled and upcycled, this book is right up my alley. Whether you’re looking to decorate your home, find unique clothing, or simply get inspired for your next crafting project, Big Thrift Energy is an absolute must-read. You might even find yourself flipping thrifted items for profit, which is a win-win!

Get your copy of Big Thrift Energy here: Big Thrift Energy on Amazon and let the thrifting adventures begin!

Happy crafting,

Shellie


Related Posts:

  • 25 Genius Ways to Repurpose Old Chairs Into…
  • Upcycling or Hoarding? Why Your DIY Projects Could…
«
»

Have you read?

How To Make A Milk Carton Village – A Recycled Craft for Kids

Ready to turn your recycling bin into a colorful, miniature village? Grab those empty milk cartons and let’s create a town filled with tiny houses, shops, and even a school or bakery! This craft is perfect for kids of all ages and encourages imagination, storytelling, and eco-friendly creativity.

 What You’ll Need:

  • Empty milk or juice cartons (washed and dried)

  • Paints or markers

  • Paintbrushes

  • Craft glue or glue stick

  • Scissors (adult supervision recommended)

  • Colored paper or old magazines

  • Bottle caps, buttons, or plastic lids (for windows or decorations)

  • Sticks, straws, or skewers (for flag poles or chimneys)

  • Optional: glitter, stickers, washi tape, cotton balls (for snow or clouds!)

 Step-by-Step Instructions:

Step 1: Clean and Prep the Cartons
Make sure your milk or juice cartons are washed and completely dry. Remove any plastic lids or caps and keep them for decorations!

Step 2: Plan Your Village
Decide how many buildings you want to make. Each milk carton becomes a house, shop, or whatever your imagination dreams up. Arrange them side by side or in a circle like a real village square.

Step 3: Cut Out Doors and Windows
With the help of an adult, carefully cut small door and window shapes into your cartons. You can also glue cut-out shapes from colored paper if you’d rather not cut into the carton.

Step 4: Paint and Decorate
Use paint or markers to bring your buildings to life. Make brick patterns, colorful siding, or roof tiles. Let each child choose their own theme – rainbow bakery, monster house, fairy home, or tiny fire station!

Step 5: Add the Roofs
You can paint the top pointy part of the carton like a roof, or glue on cardboard triangles to create overhangs. Want to add a chimney? Glue a straw or cardboard roll on top!

Step 6: Make Flags and Signs
Cut small flags from recycled plastic or paper and tape them to straws or sticks. Glue your flags to the rooftops. You can even create tiny signs for each building – “Toy Store,” “Library,” or “Super Cat’s House.”

Step 7: Build Your Village
Place all the finished buildings together on a large piece of cardboard, tray, or table. Use bottle caps for stepping stones, cotton balls for bushes or clouds, and draw roads with marker.

Step 8: Play!
Now that your village is built, use little toys, action figures, or LEGO people to live in your new town. Create stories and adventures—your Milk Carton Village is officially open!

 Learning Bonus:

This craft is not just fun—it also teaches recycling, fine motor skills, creative thinking, and storytelling. Plus, it’s a great group activity for playdates, classrooms, or family craft nights.

Let your kids’ imaginations run wild—and remember, no two villages need to look the same. Each one tells its own story!

Explore

books Christmas CraftGossip Giveaways Craft Inspirations Easter glass halloween Home Decor kid crafts More Crafts Patterns & Tutorials recycled art Recycled Clothing Recycled Jewelry Recycled kids crafts Recycled Sewing Recycled Tutorials Recycling Ideas Recycling Organizing tin can

RSS More Articles

  • Knit a Stunning Shawl That Wears Like a Collar
  • How to Make a Summer Pocket Mini Scrapbook Album
  • Book Review: This is How a Ball Rolls
  • A Sweet Top to Show Off Colorful Yarns
  • Egyptian Eye Throw – Crochet Pattern
  • Easy to make fall garland
  • Fancy Pumpkin Cross Stitch Patterns
  • DMC Orange Punch Needle Pattern
  • How To Make A Milk Carton Village – A Recycled Craft for Kids
  • Easy Sleeveless Top – Free Crochet Pattern

Copyright © 2025 · CraftGossip | Start Here | Contact Us | Link to Us | Your Editors | Privacy and affiliate policy